Background

Uncategorized

Header
Header

Uncategorized

All of us! Abandoned! You aren't real. You can't be here.
last updated on Fri Jul 01 2022
Details
Difficulties Level 79 - 113 Agony Resistance
Level 91 - 134 Agony Resistance
Cycle Day
Potions
Sigils
Guide

Start

Option 1 (recommended): The whole party stacks Stealth and skips together until the holding area. If a single Harpy spawned immediately at the begin, you can kill it before stealthing.

Option 2: Anyone with a White Mantle Portal Device skips alone and teleports the team to the holding area.

Option 3: Proceed as a group and either kill the Harpies or skip them.
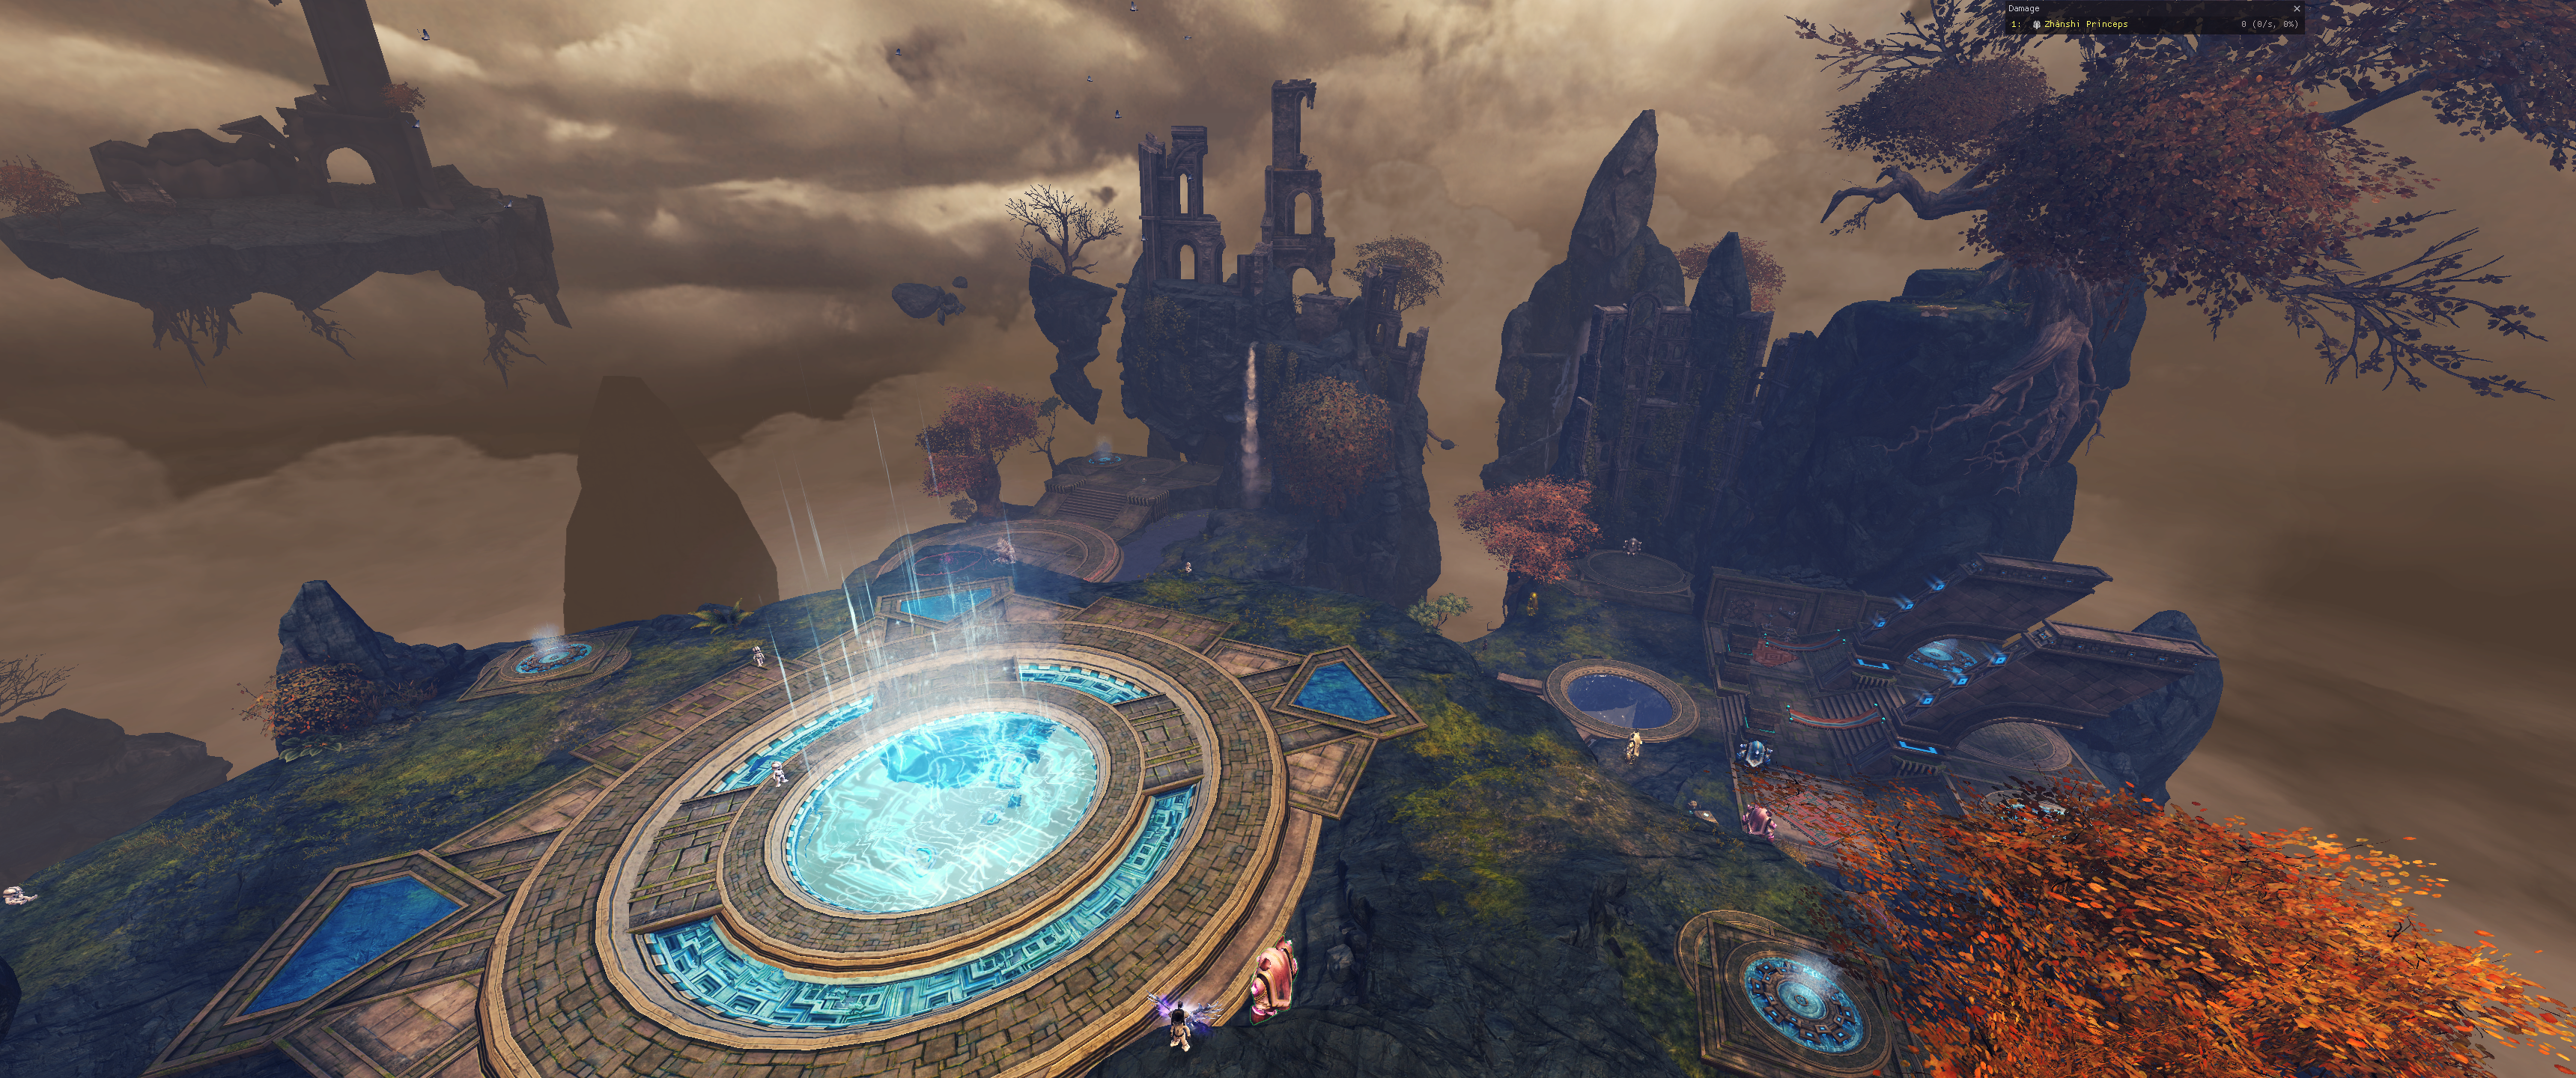
 Aegis and Stability helps a lot. All attacks of the harpies are classified as projectiles and therefore can be reflected.

Holding Area

Stack Might while destroying the Power Generator, then stack in the structure on the left side of the room to break line of sight so that the adds converge on you.

Proceed with killing the Rabbit, the Bandit Saboteur, the Flame Legion Fire Shaman and finally the Ettin. Try to keep all mobs together on the Flame Legion Fire Shaman to maximize cleave damage, but do not get caught in the Ettin’s Massive Smash attack nor the Fire Shaman’s Dragon Punch. Both of these abilities deal high amounts of damage and CC in an AoE.

Reflects are strong here as well, especially against the Fire Shaman’s projectiles. Well timed Aegis helps out against the hard hitting Ettin attacks and use of Stability is encouraged to prevent Knockbacks from both the Ettin and the Fire Shaman. Try to break the defiance bars to maximize your damage with Exposed.

If positioned correctly, you can use Fiery Whirl against the wall and deal lots of damage to the adds.

Use the smoke field from
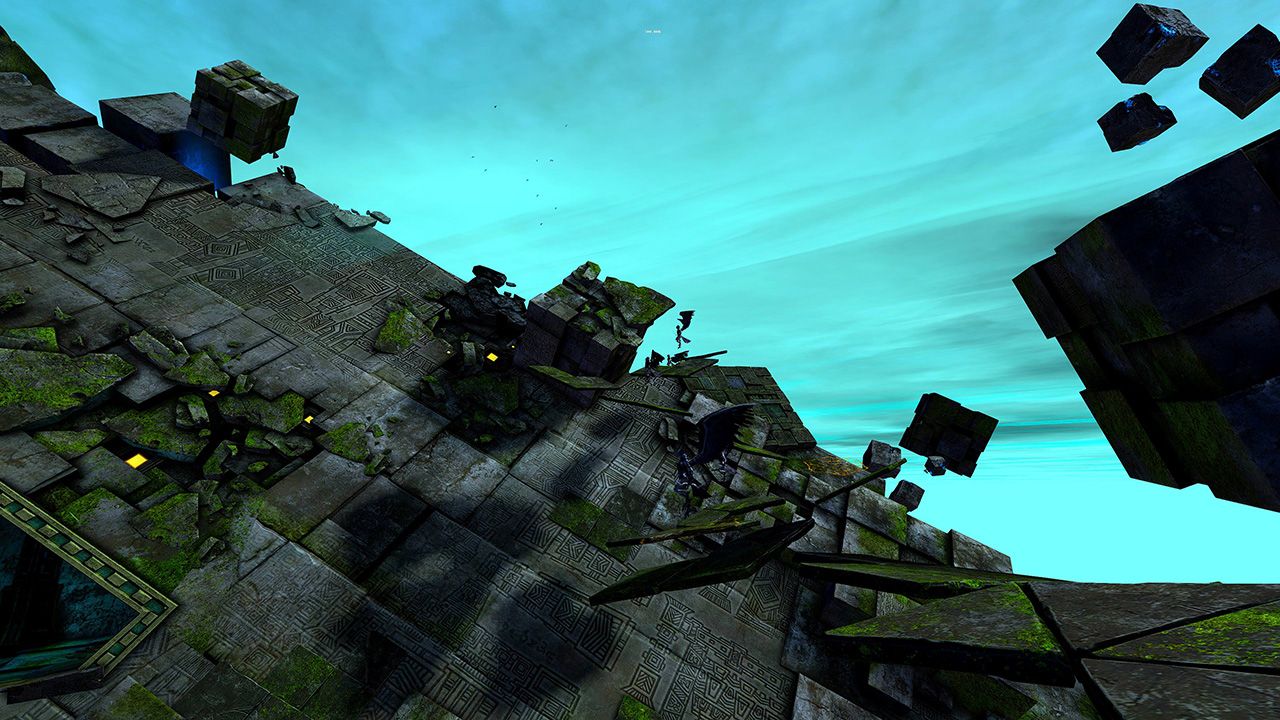
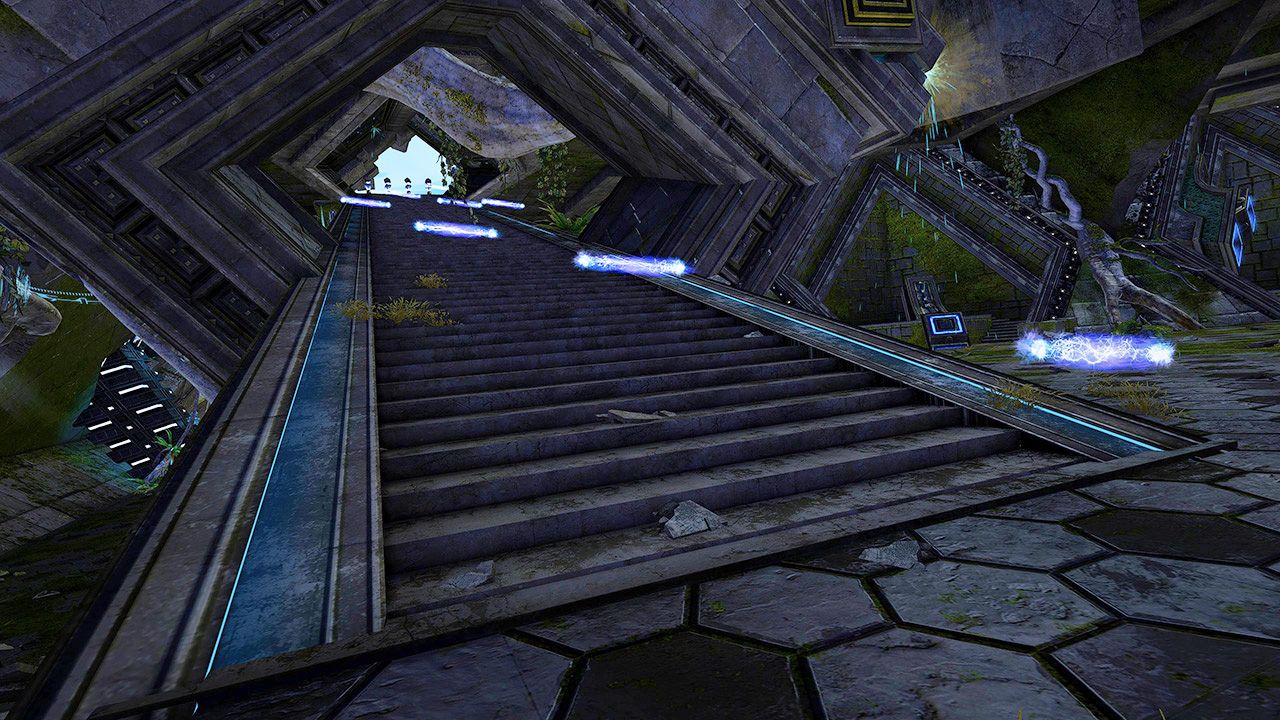
 Black Powder or Smoke Screen or simply cast Shadow Refuge to stack Stealth. Smoke Screen is also useful against the Holding Area bosses.

Harpies protect their jumping puzzle

Ramp puzzle

After killing the adds, walk past the three Harpies and run up the ramp towards Old Tom. You can dodge through or reflect the pulsing orbs and even skip the last part by walking on the left wall.

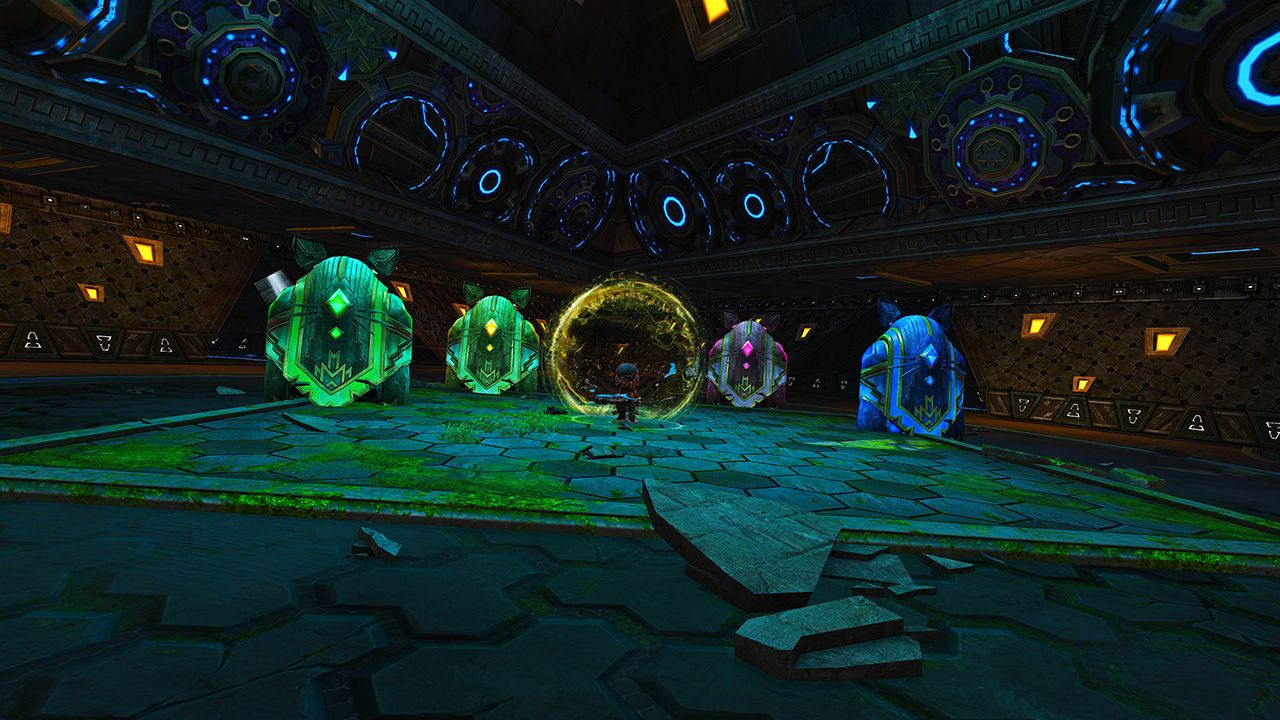
Note: Activating all three consoles at the same time will turn off the turrets. This can be helpful, but it is not necessary for proceeding the fractal.

The ramp up
The ramp up
Old Tom
Old Tom

Old Tom

Stack Might before Old Tom, break his defiance bar as quickly as possible and burst him down. Be careful with Agony and try to not stand in his hitbox or very close to him while he is firing his projectiles. Soulbeast can use Healing Spring or take Bear Stance with the trait Leader of the Pack to help out with the Poison from the green projectiles.

Raving Asura

Stack Stealth before the Harpies and jump to the top. As soon as someone reaches the top level, you can safely use /gg and resurrect at the checkpoint there. Watch your objectives list on the top right of the screen. As soon as you see a change in the objective you have triggered the checkpoint and may use /gg.

Use reflects against the Lightning Bolts from the Raving Asura (or let others soak them) and kill the four golems to finish the fractal. You can save some AoE spells for when all four golems reactivate at the same time.

First swap your legend to Legendary Centaur Stance / Legendary Renegade Stance , but stay on . Go to the golems and deplete your energy below 10 for extra 25 energy on legend swap, swap to Legendary Centaur Stance , then just use Protective Solace to block the Raving Asura’s projectiles until the end of fight.

The Raving Asura and his entourage