Tetris skip
You can use


| Difficulties |
Level 84
- |
|---|---|
| Cycle | Day |
| Sigils | |
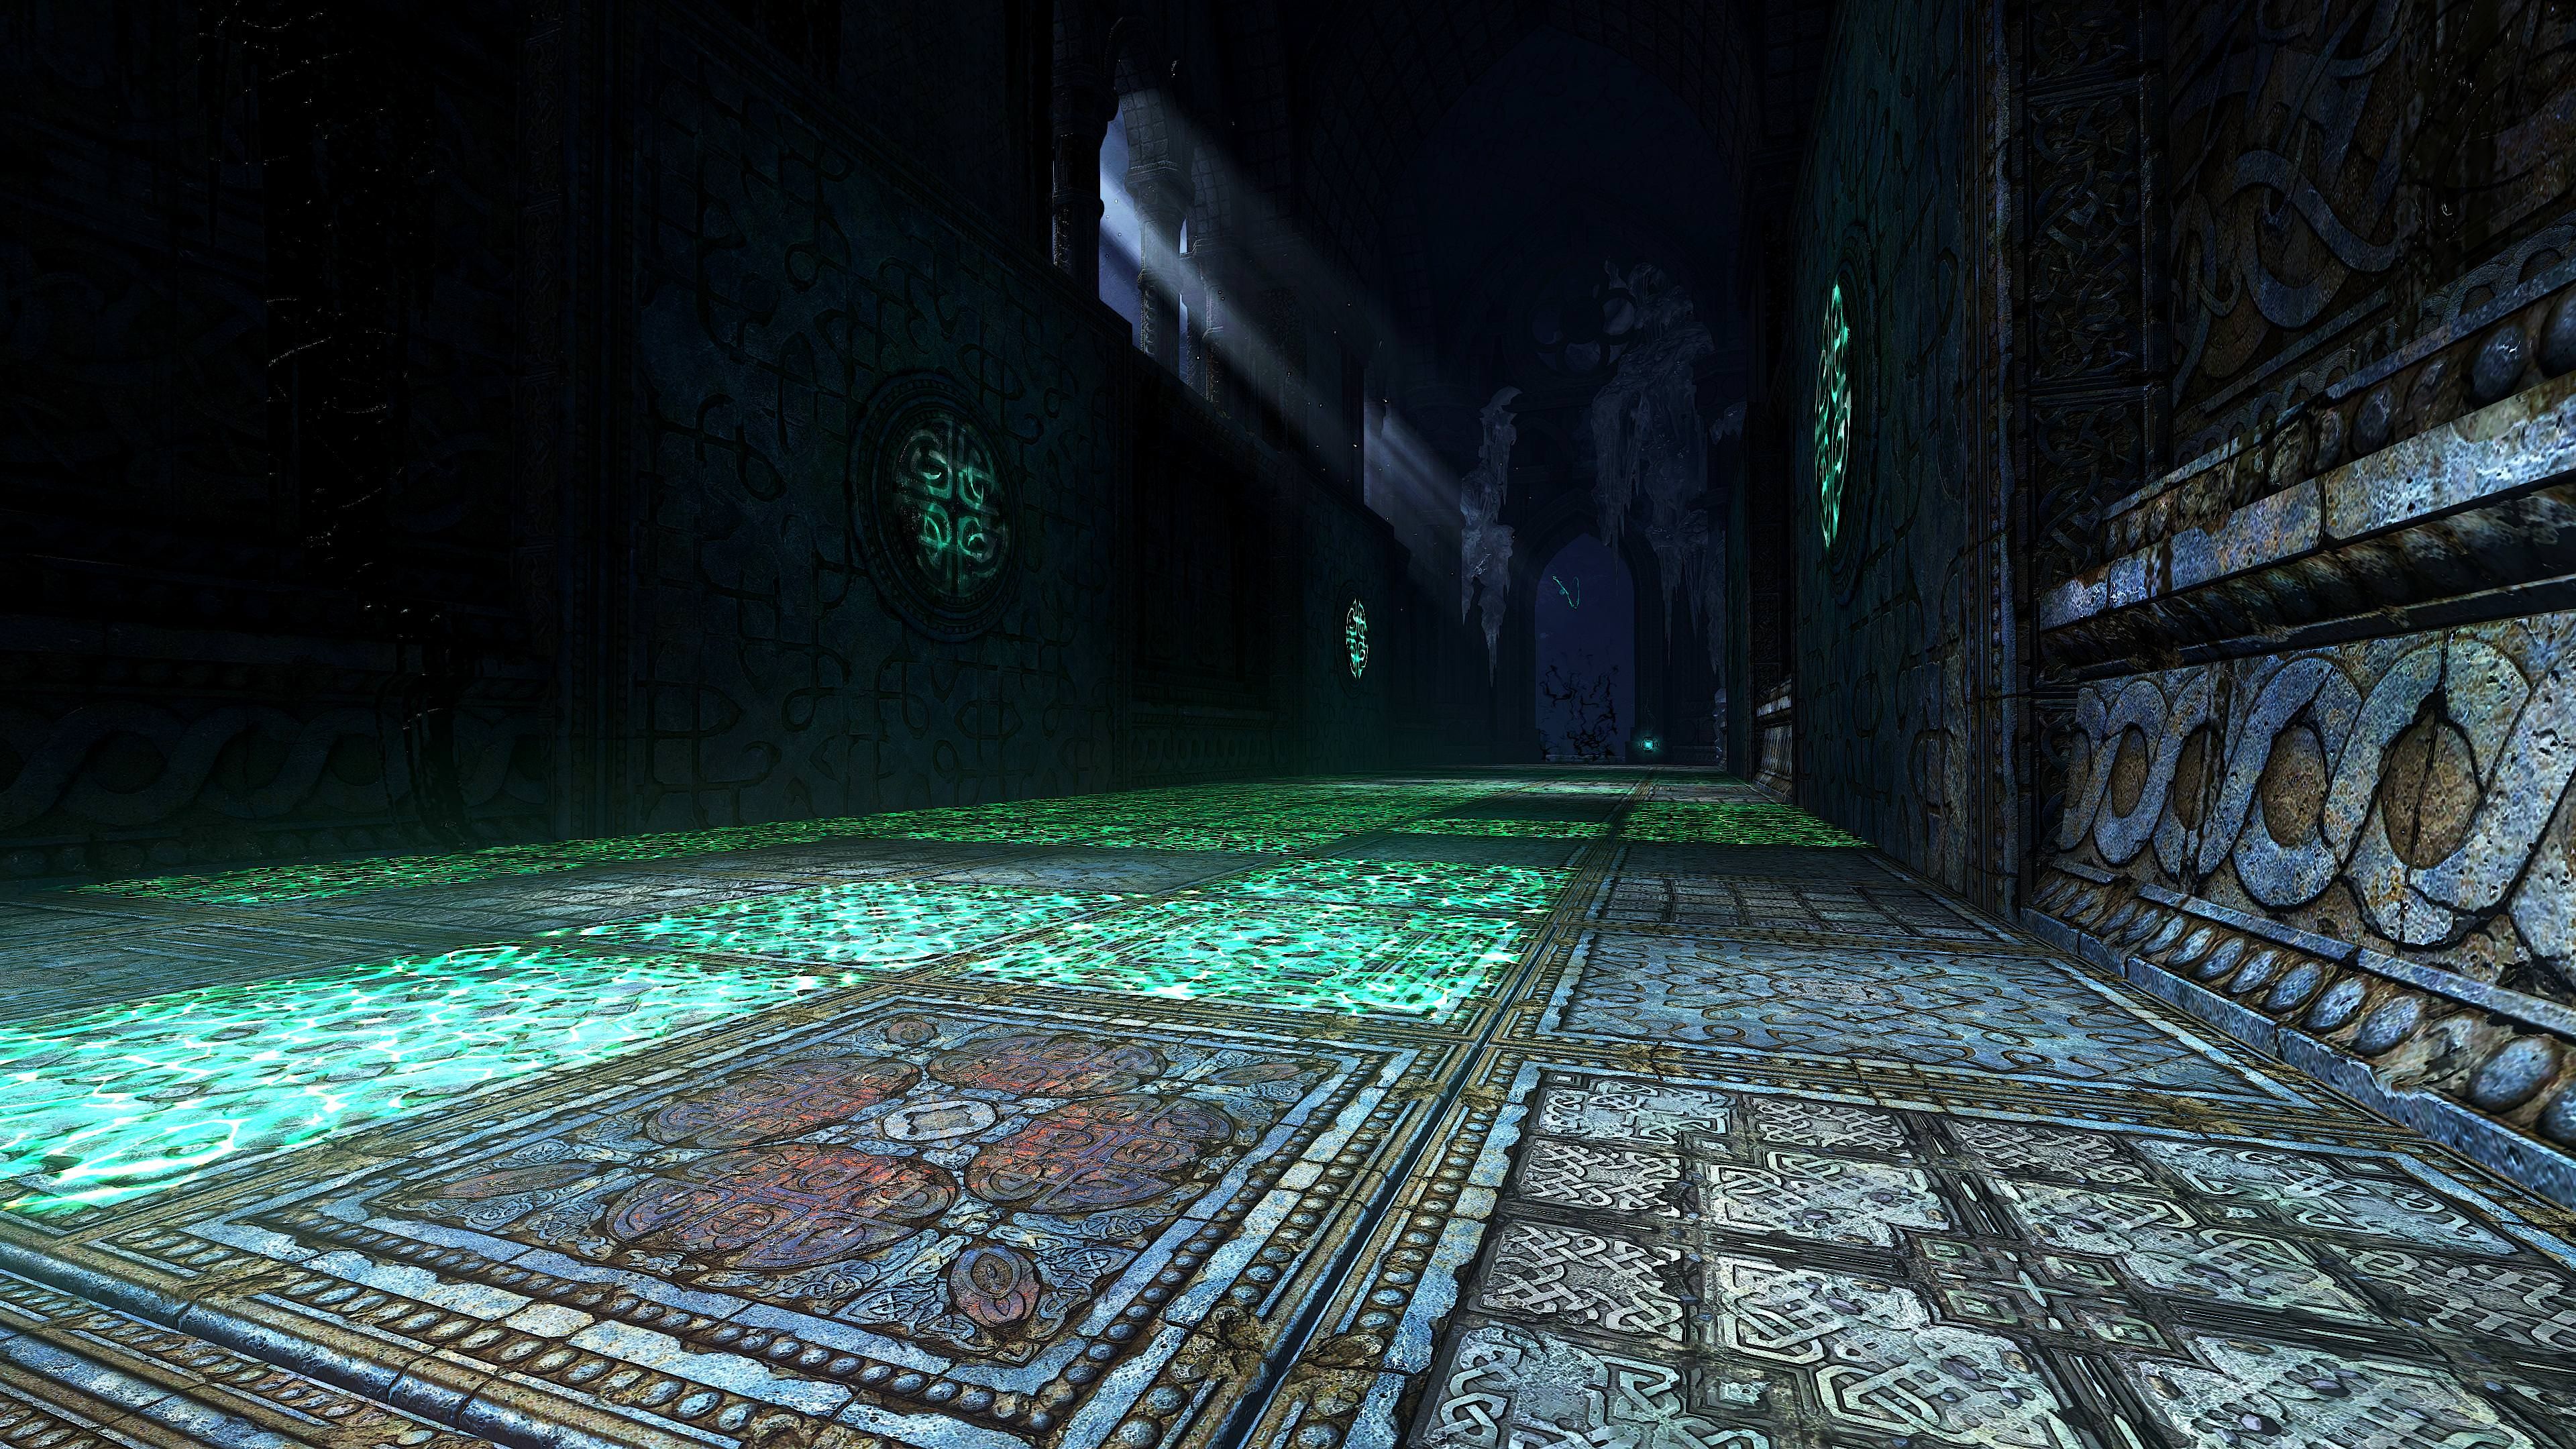
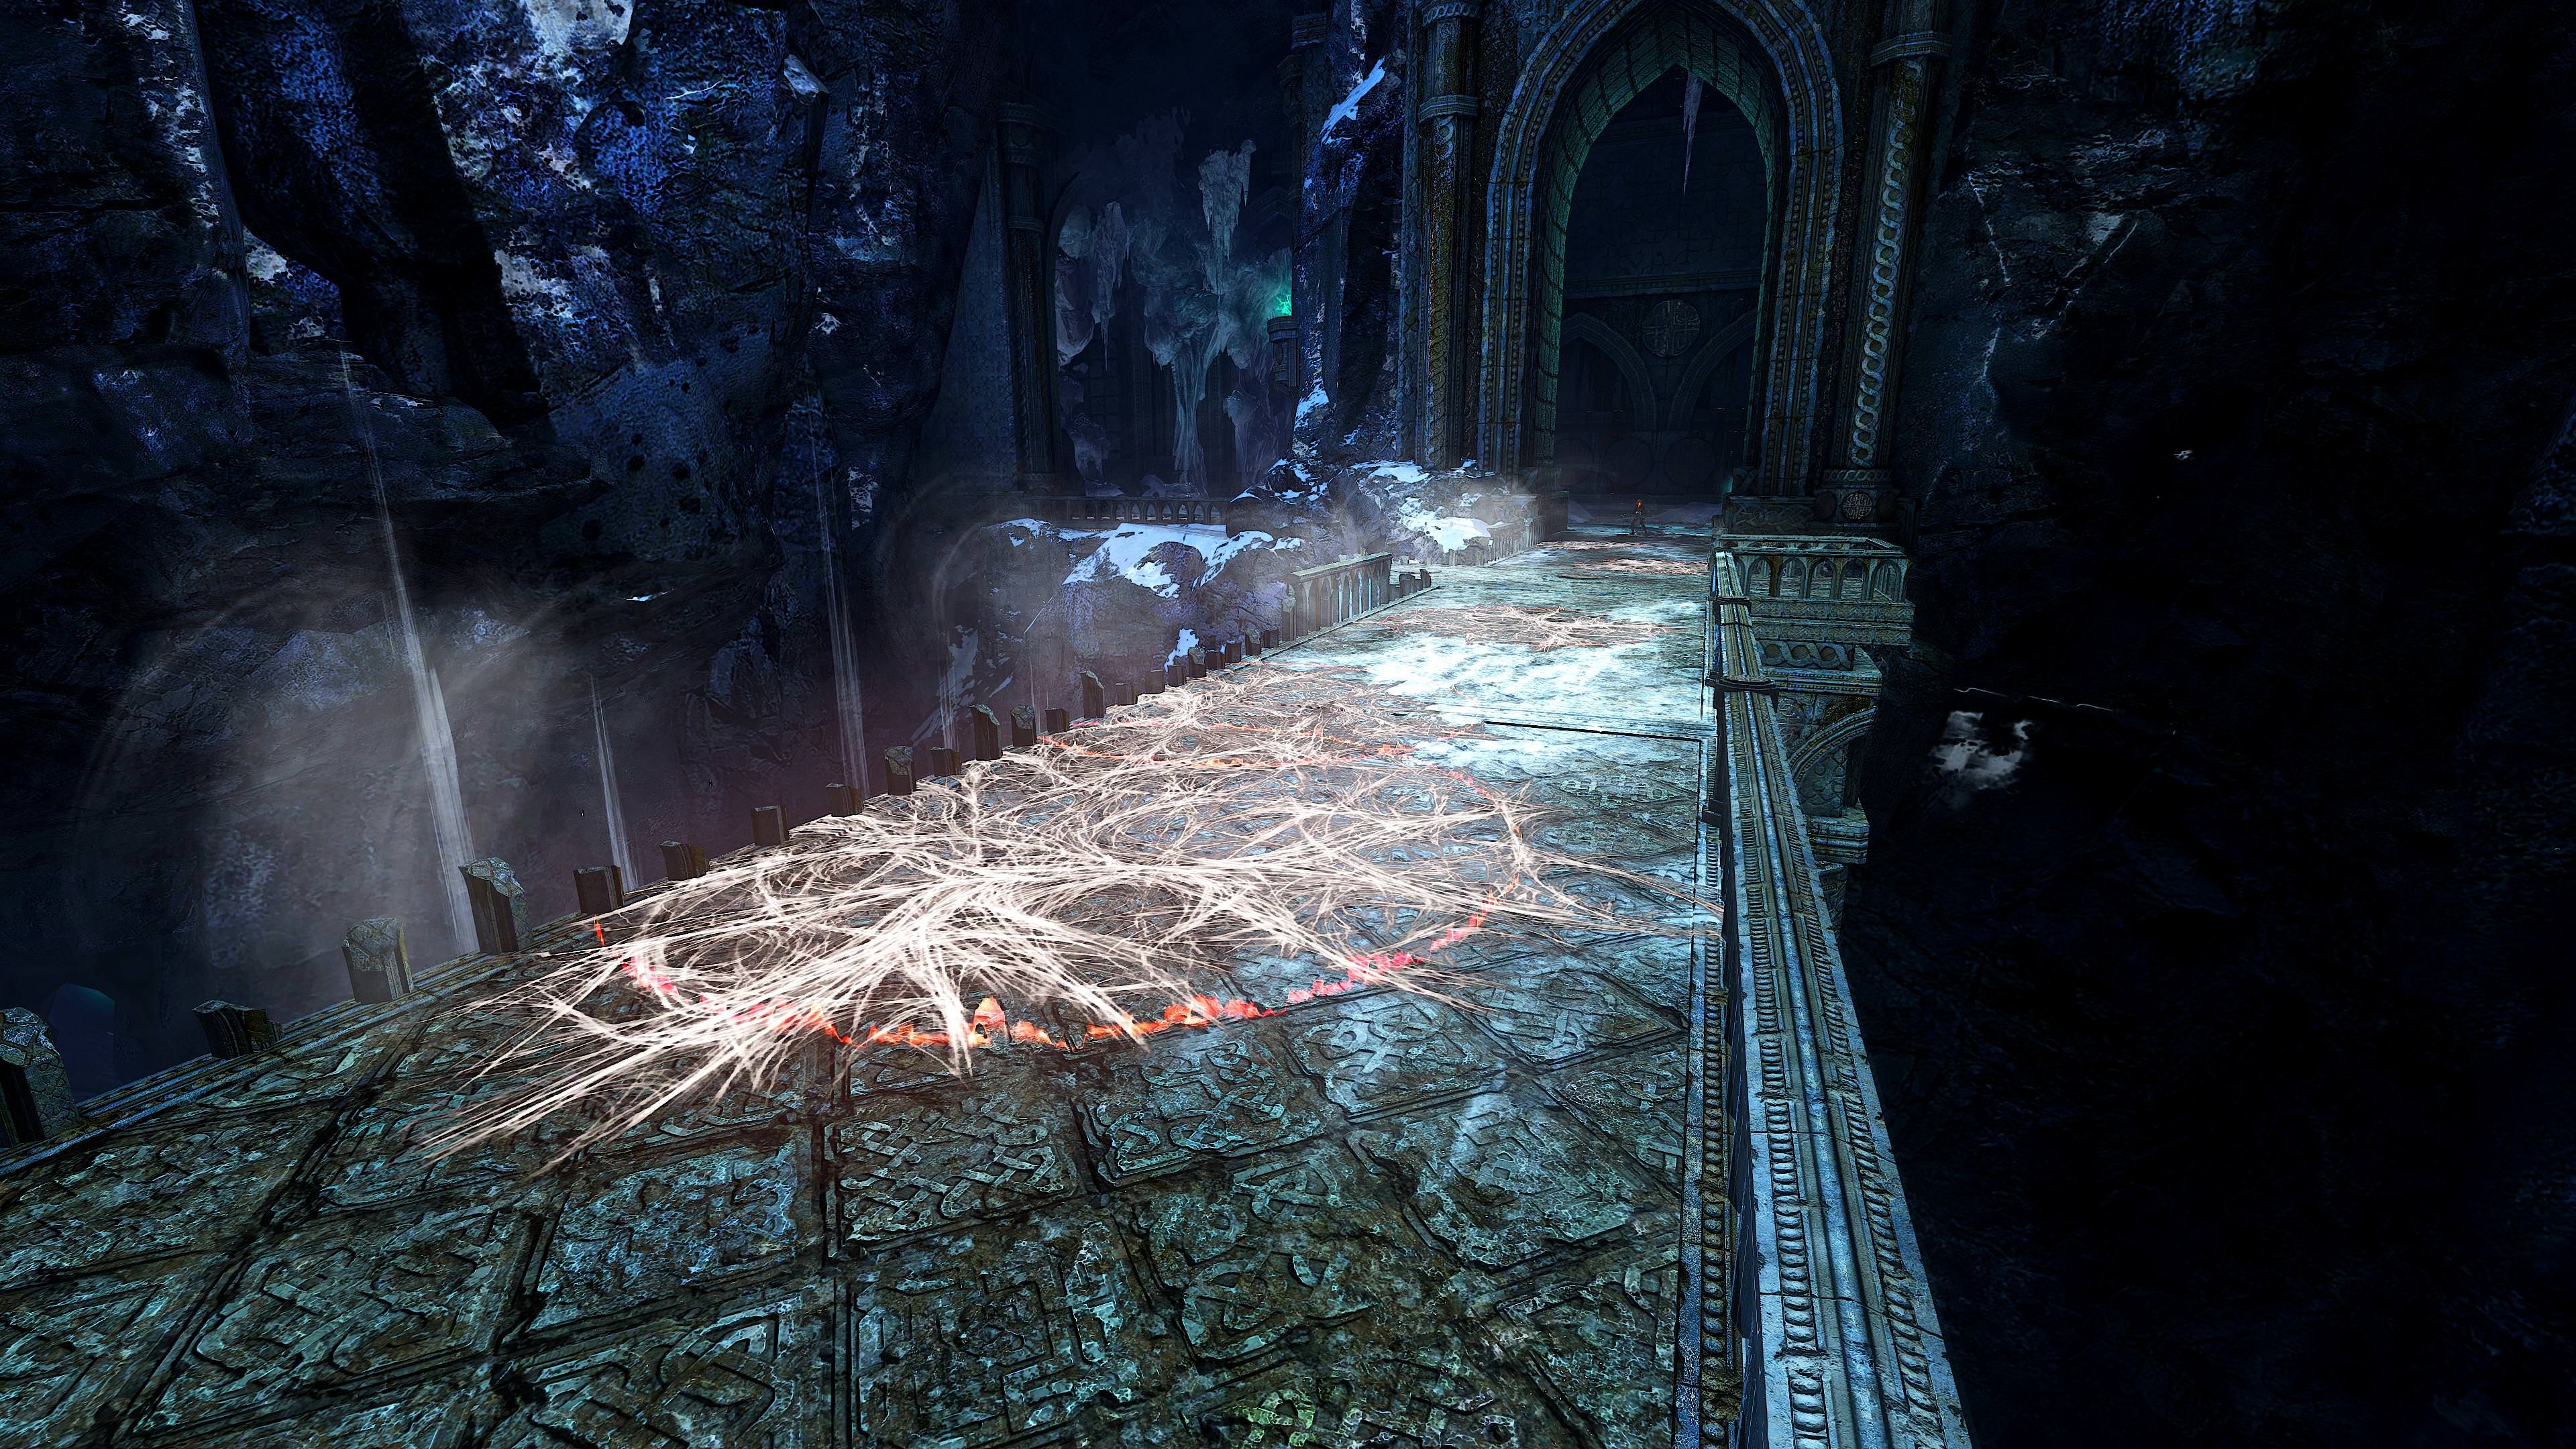
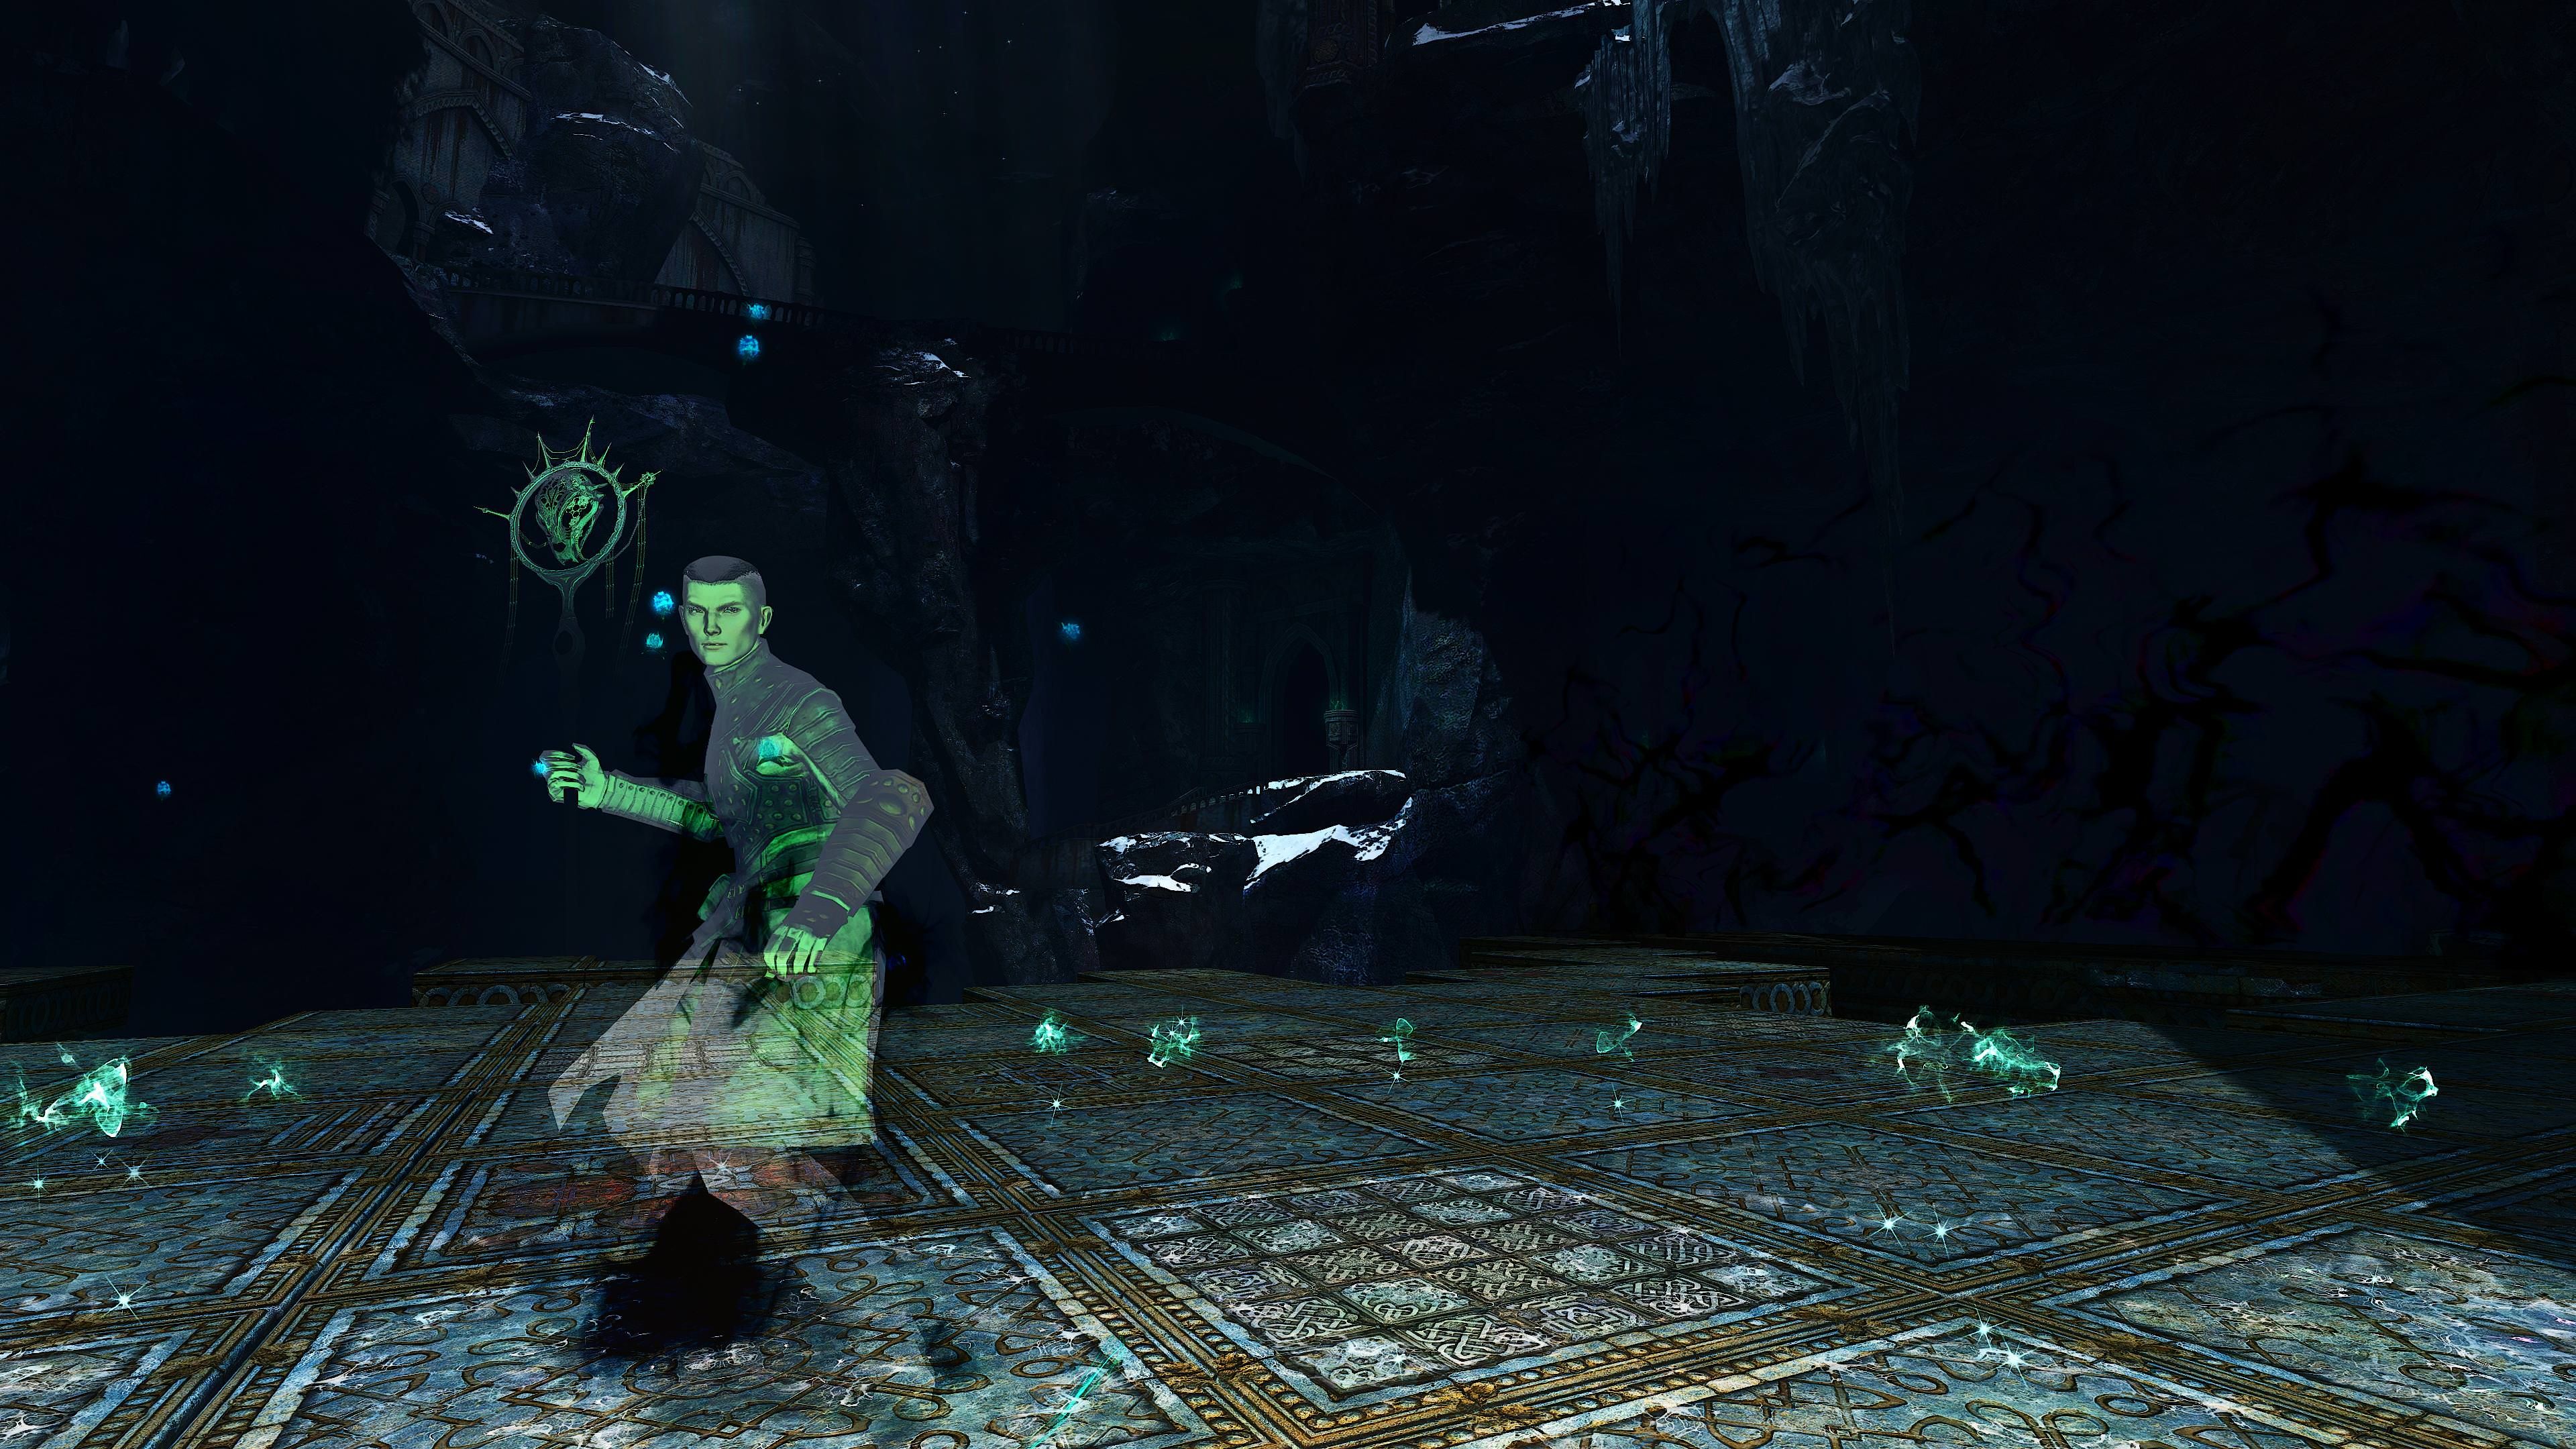
Before the Deepstone Sentinel, there is a Tetris-like obstacle you have to pass. You have to avoid the green tiles because it damages you. You can dodge and block the green tiles between the safe non glowing tiles, proceed to the end. This can be skipped by
After two players passed, they stand on the cyan glowing runes to stop the Tetris trap so others can pass.
You can use
After prestacking
The other three attacks are a mini tornado that applies
Use
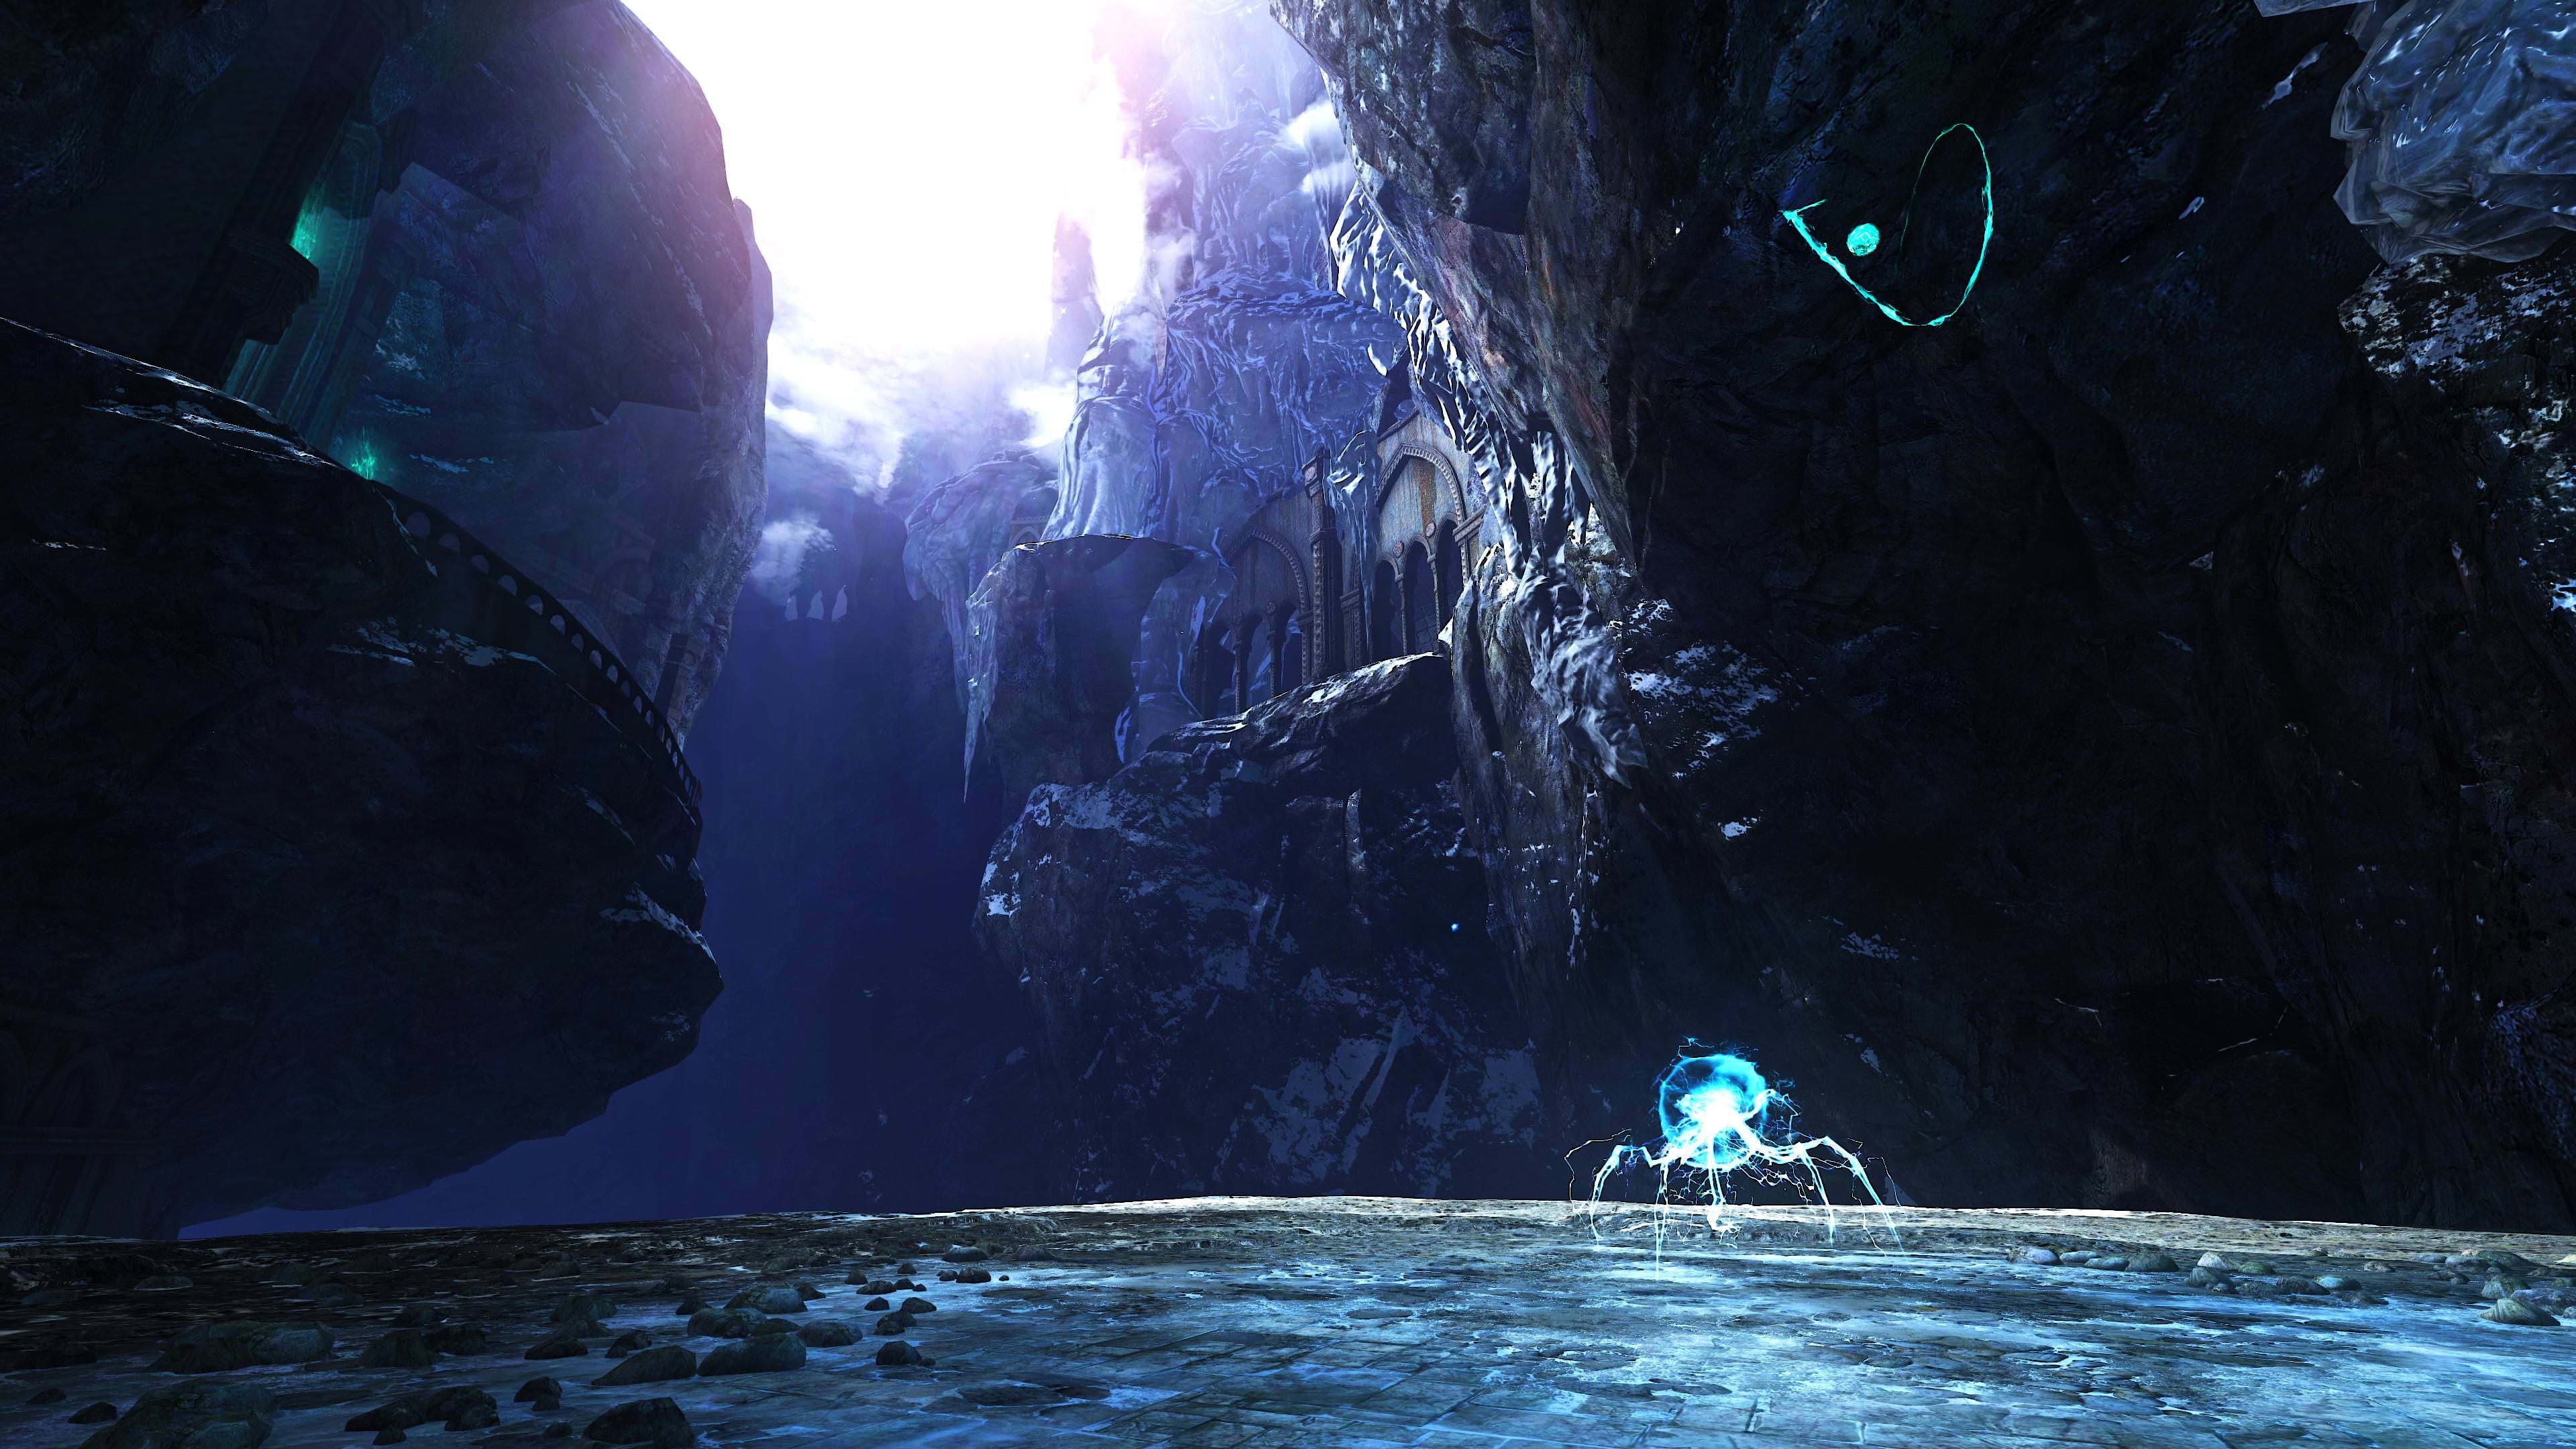
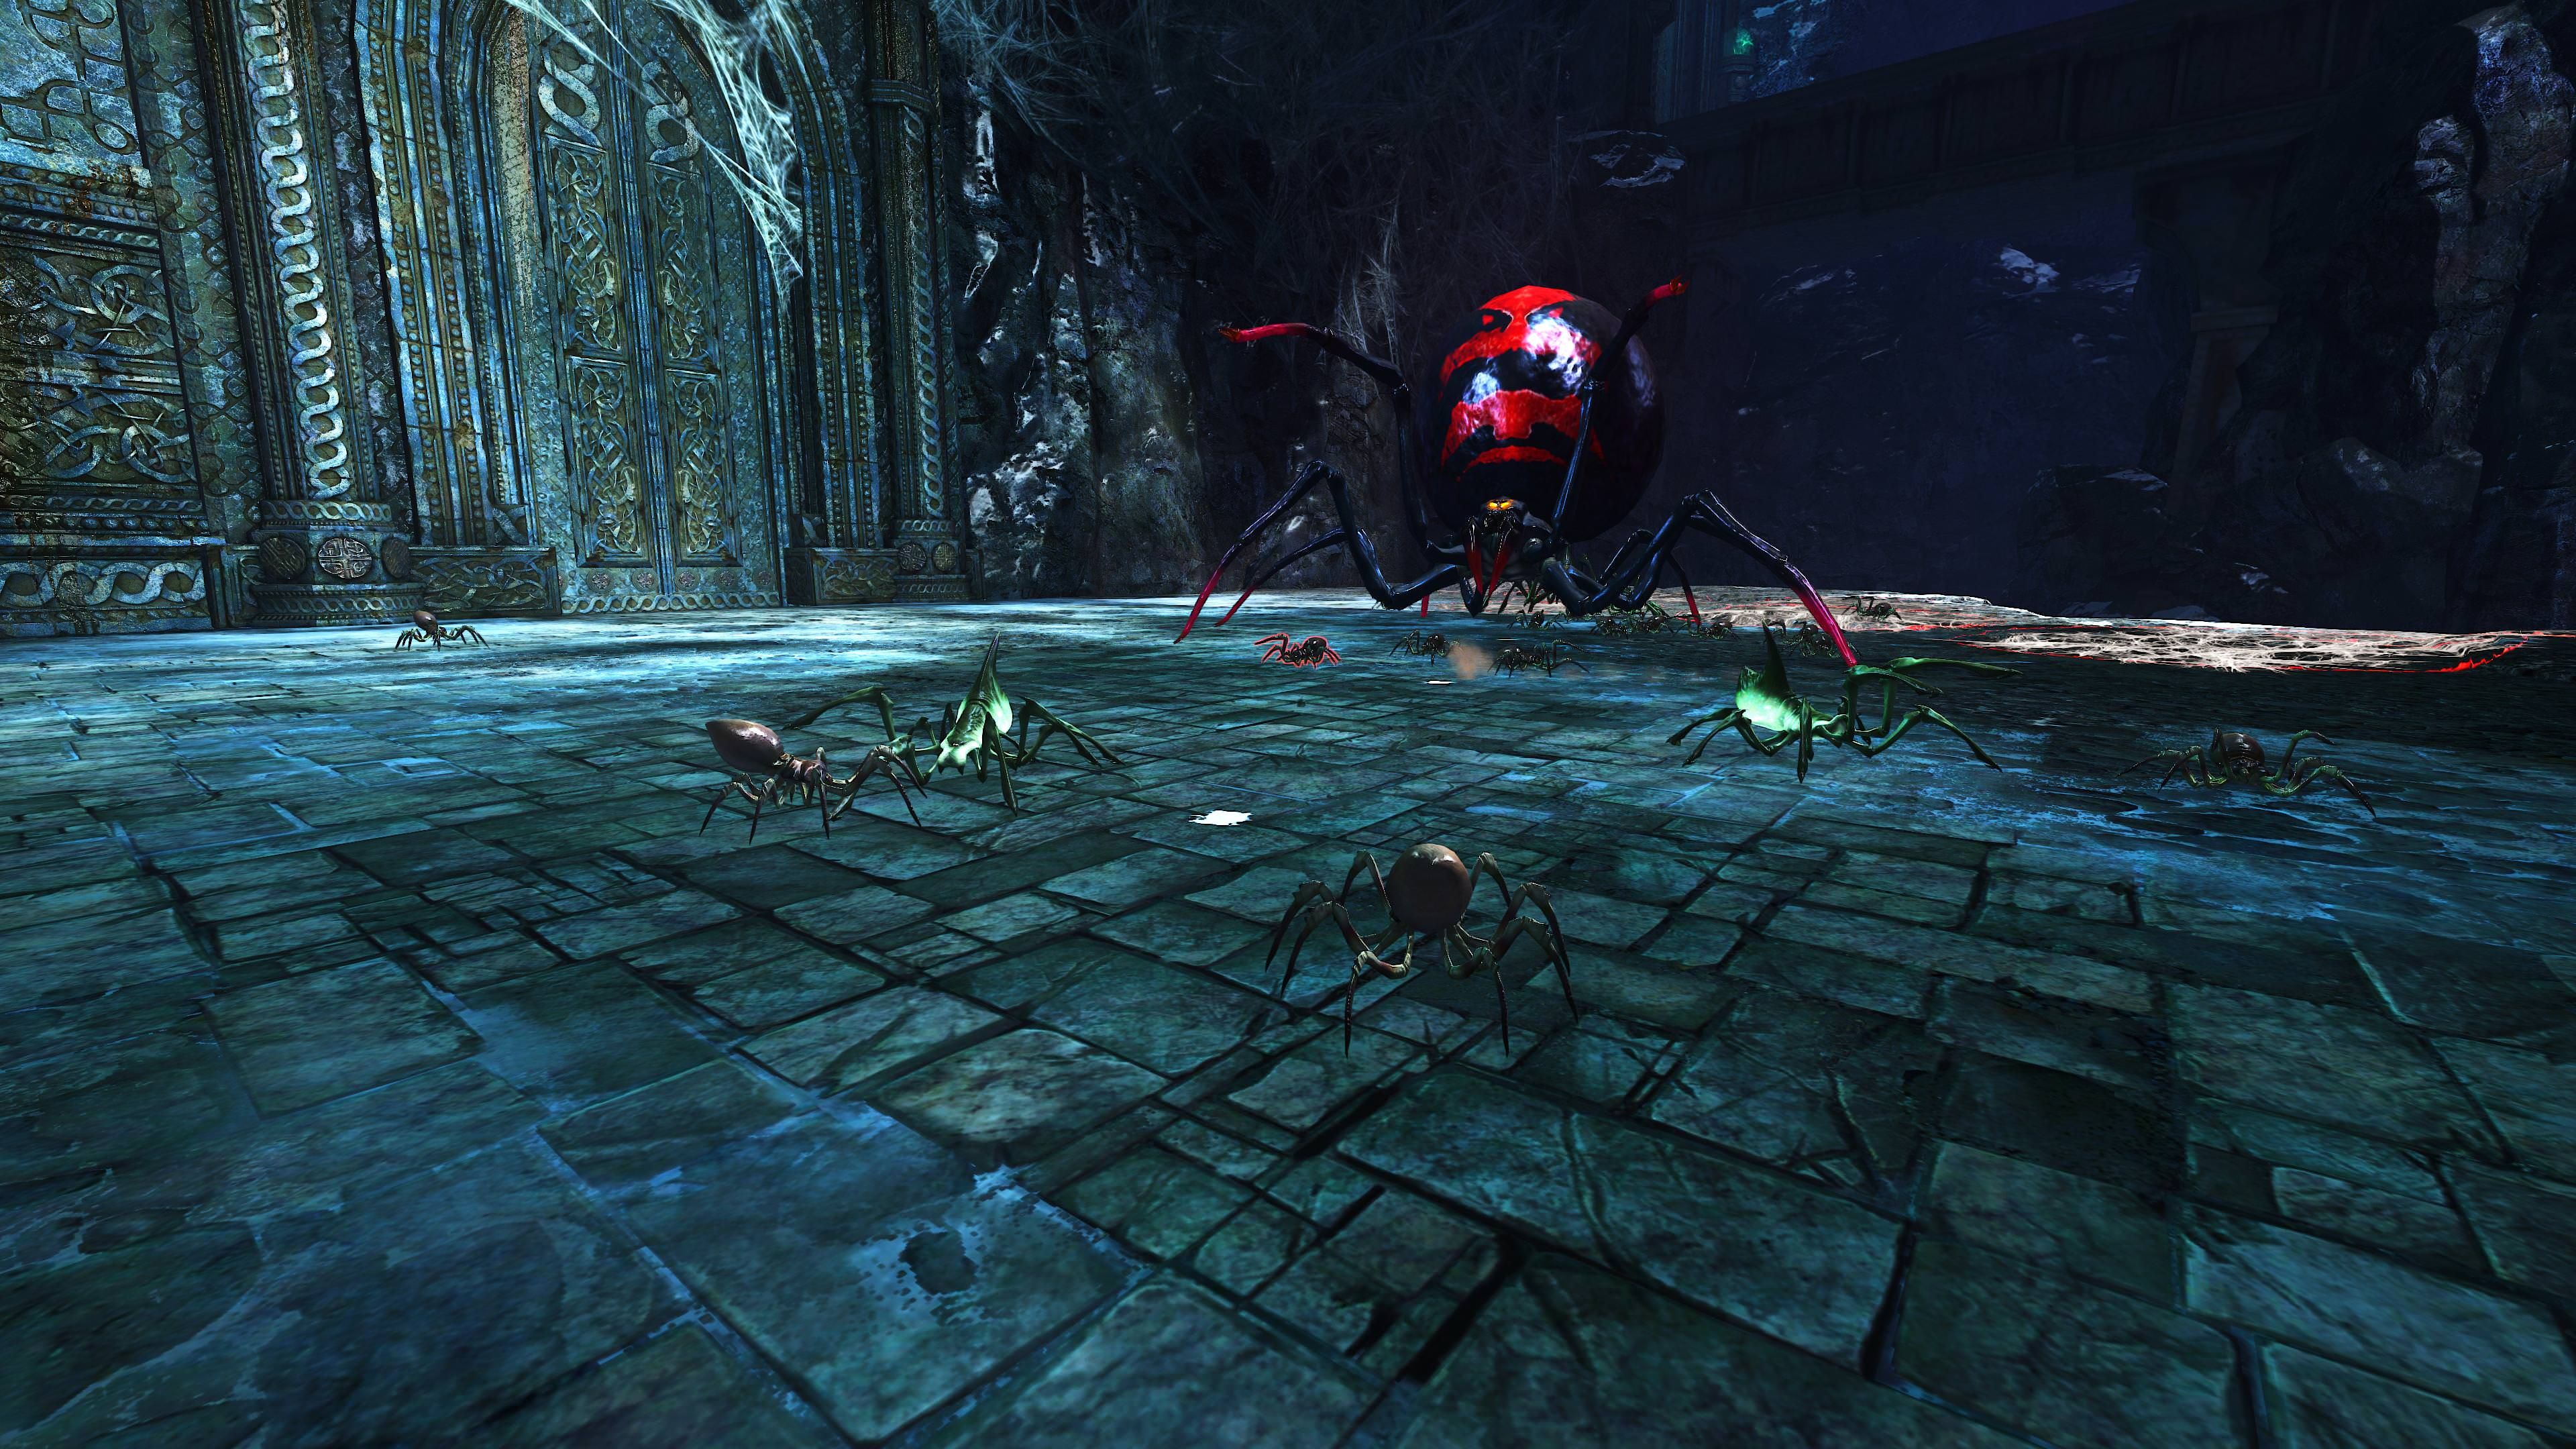
On your way to the Brood Queen you will see spider nests, destroy them. On the bridge there are telegraphed wind currents that are unblockable. If you happen to get hit by one it puts you back at the start of the bridge with a huge penalty on time. Do not try to skip multiple wind currents at once to avoid getting reset to the start. To deactivate the puzzle and unblock the path to the Brood Queen you have to stand on two cyan glowing runes towards the end of the bridge.
Sometimes the npc is lagging behind a bit causing the cyan buttons to not work. If that is the case backtrack to the Mistlock Singularity which should start a dialog of the npc.
Kill the two elite Broodmother Spider to spawn the Brood Queen. This boss does not hit hard and most attack are telegraphed. After killing her the crystal energy ball comes down. Take it and you get spawned back in the middle. Take the ball to the Vibrant crystal in the end of the hall.
Use
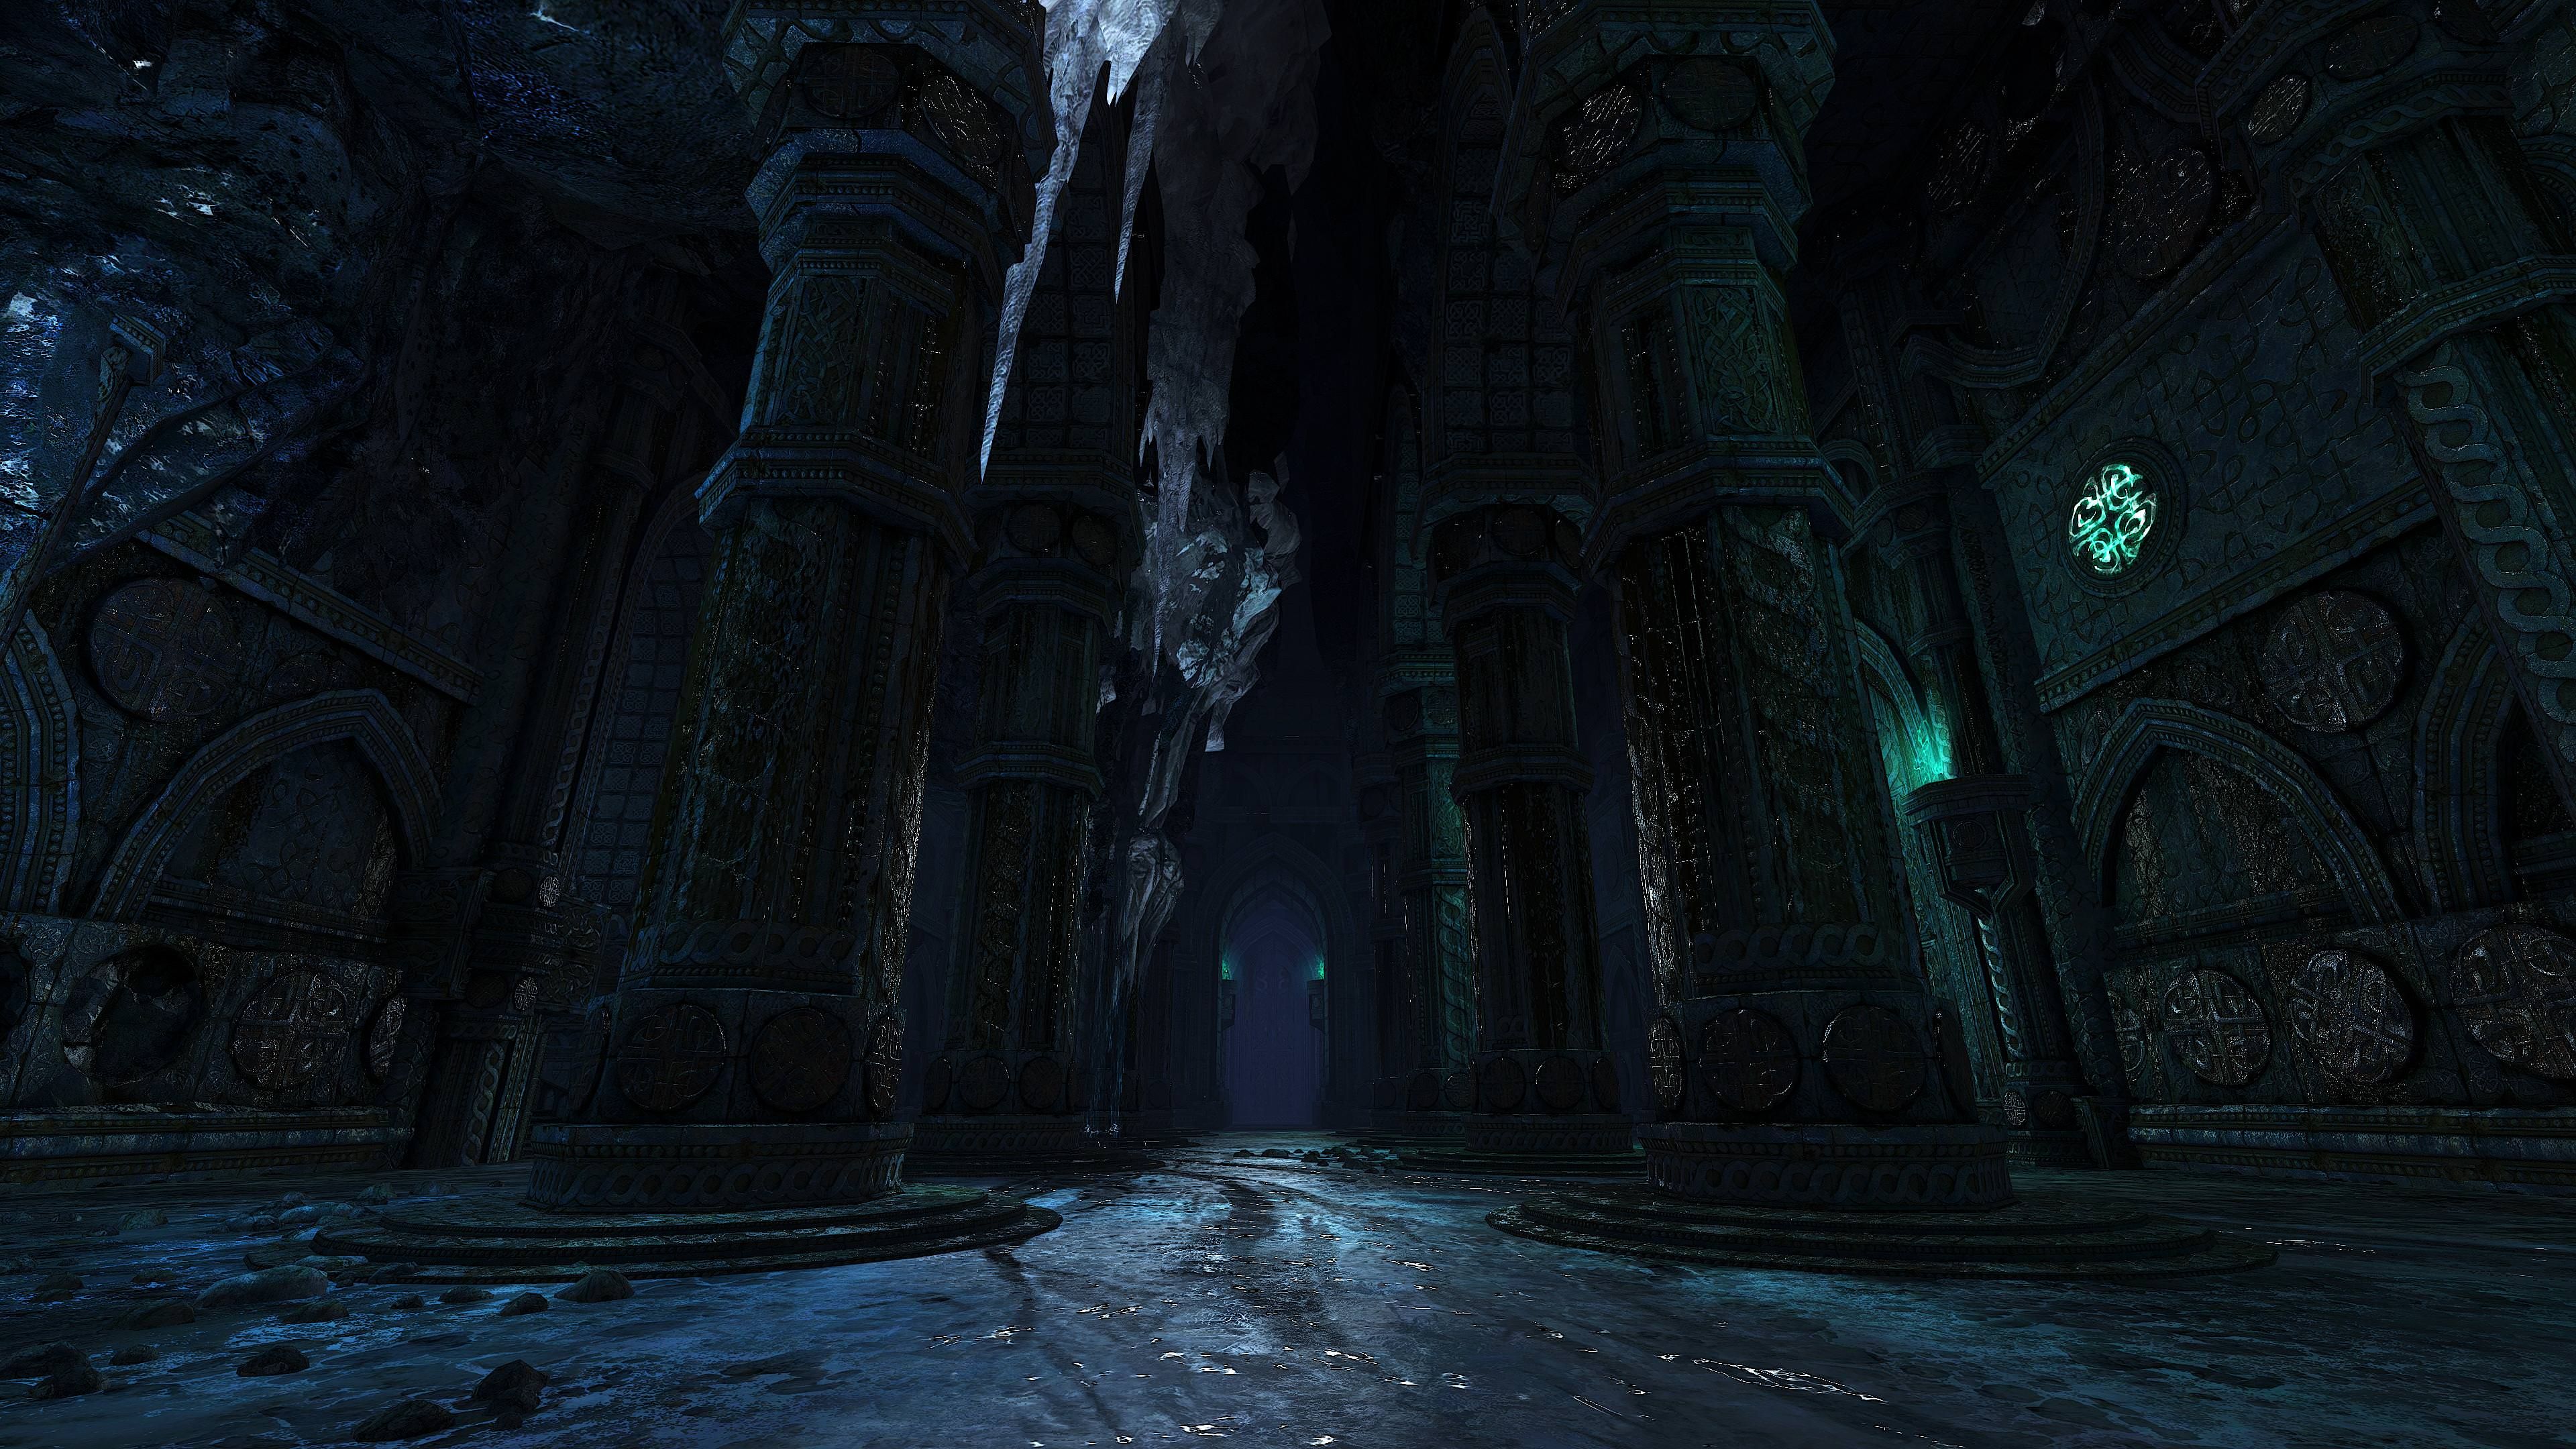
After merging the second orb with the Vibrant Crystal, you get a Special Action Key skill called . This skill is used to reveal hidden chest in the dungeon as well as making the mobs 10% more vulnerable and it also serves as revealing the Shadow Minotaur in the central chamber. After killing the Shadow Minotaur and the Imps the door in the middle chamber opens. Go in and move on to the next obstacle, the Maze.
Make sure to bring
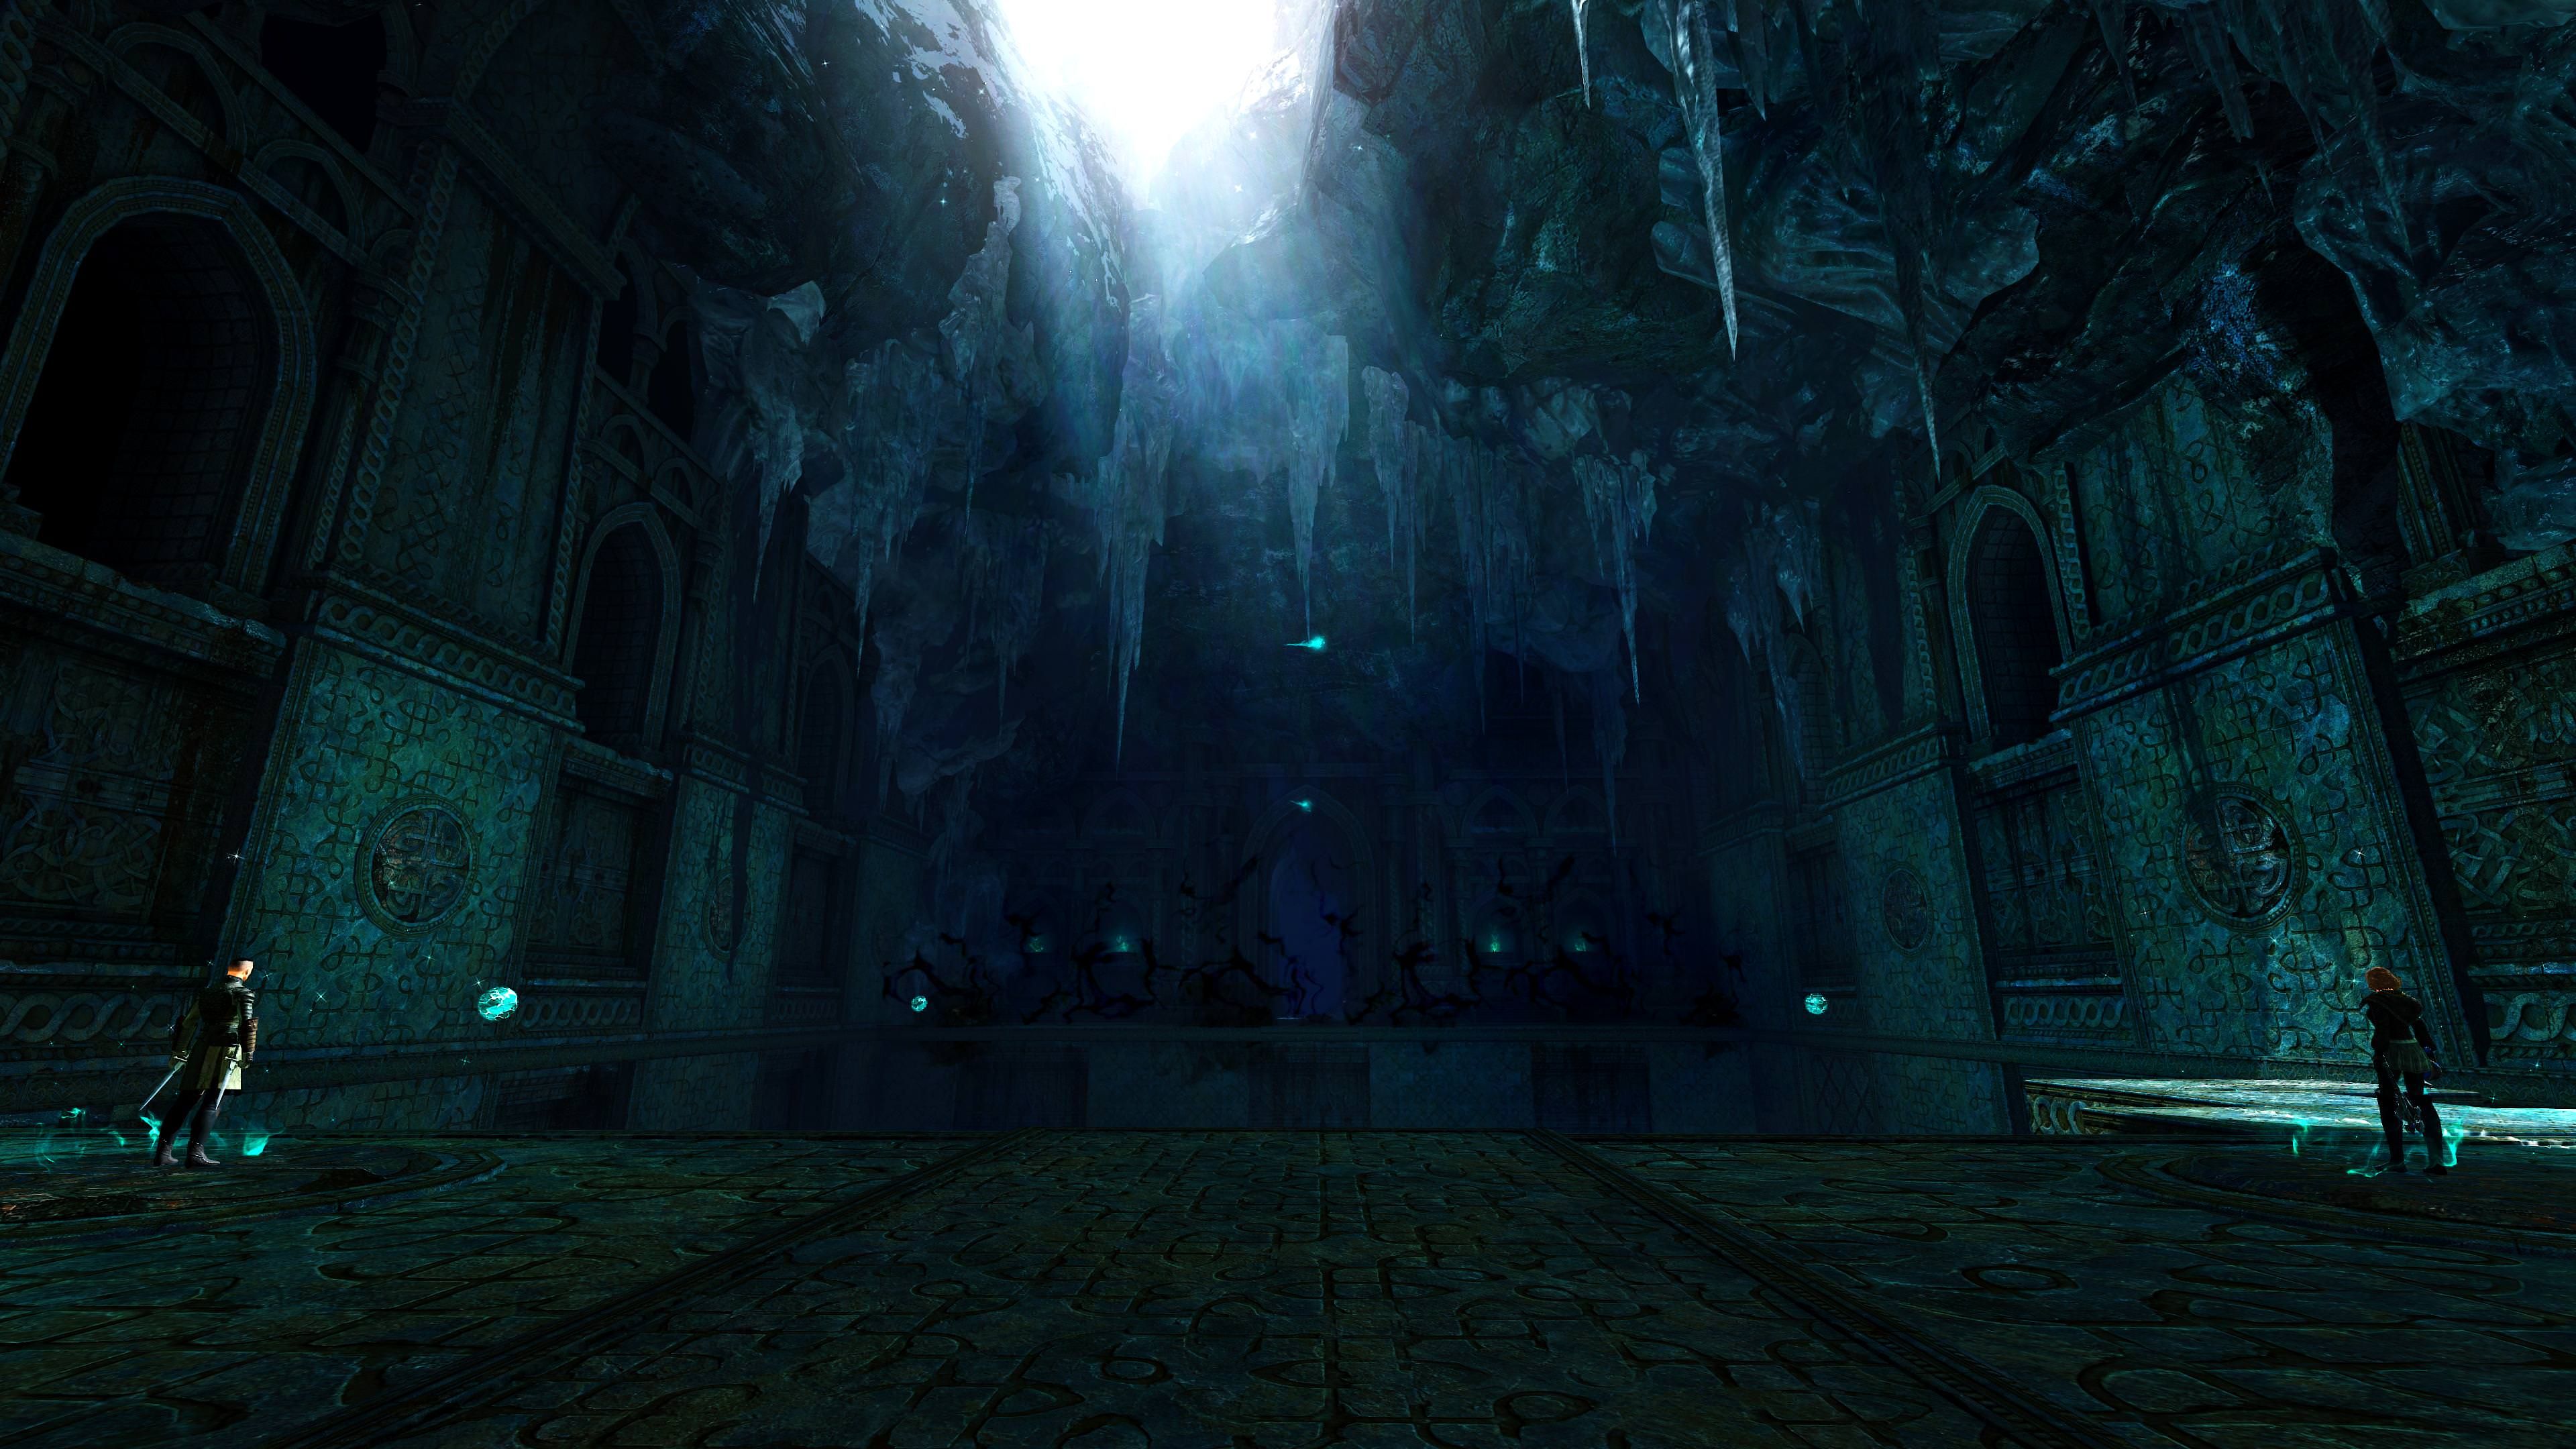
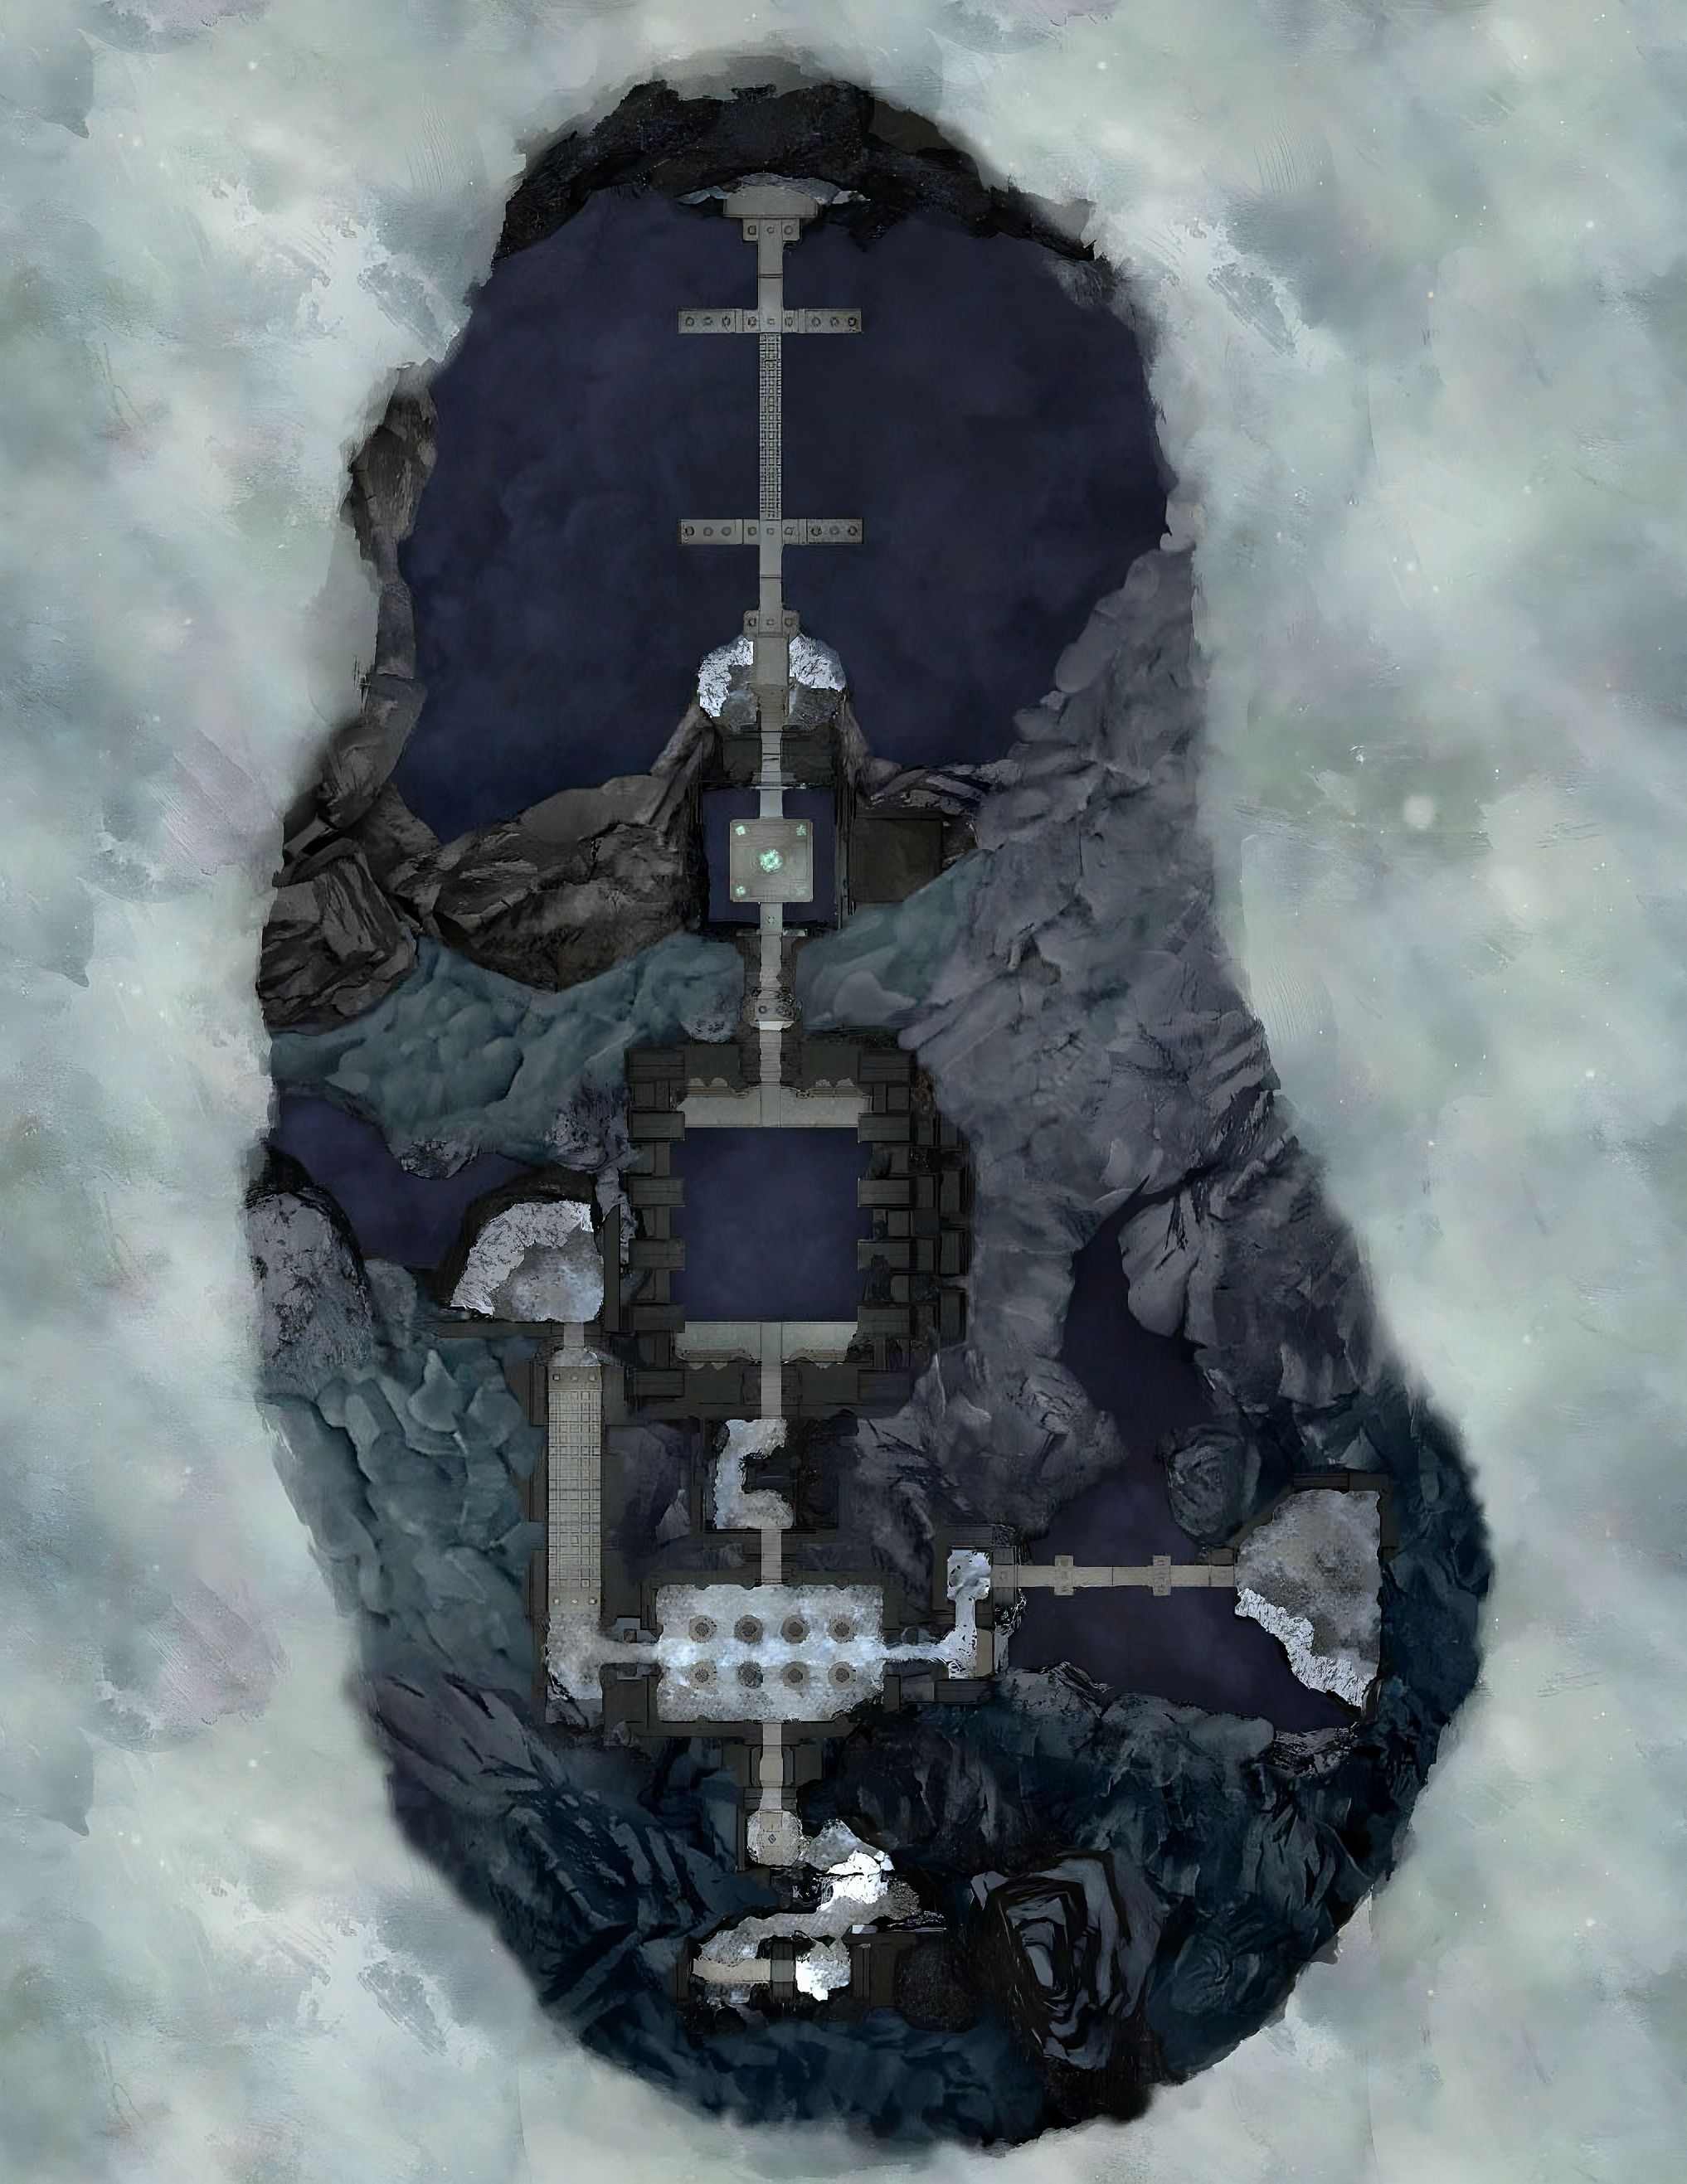
Here you have to use the to reveal the hidden tiles of the maze. Move to the right and the first orb of light is revealed for you. From there you proceed on to the next orb of light to your left or the bottom left on the minimap. After revealing all four orbs the maze’s tiles reveal themselves and you can move on to the “elevator”.
After standing on the rune in the middle of the platform it proceeds to go downward. If you didn’t step in in time, no worries, there is a cyan glowing rune that teleports you down. As the platform goes down, it stops in the middle and mobs spawn. It’s two waves of mobs with first being Veteran Imps only, then an Elite Minotaur and Veteran Imps. Use the to make them vulnerable and after killing them the platform moves again. You can jump down but it can happen that you die if you jump from too high. It is more safe to wait until it is fully down.
Use
Before fight Pre-stack
Prestack
The tiles of the arena can be revealed with the skill. Spam this skill all the time and you won’t have a problem with disappearing tiles.
Teleporting Breakbar
At 80% and then 40% The Voice teleports away and gains a breakbar while casting beam on you that makes the tiles disappear under you. If you do not manage to break the breakbar fast enough he gains a barrier you have to remove.
Invulnerable Phases
At 60% and 20% The Voice teleports to the middle, becoming invulnerable and you have to keep away Spectral Flames from him. Spectral Flames make the tiles disappear under them. Use skill to make them invulnerable to Spectral Flames. If a Spectral Flame manages to reach The Voice, he casts a huge AoE that damages you. During this phase the group should focus on killing Shades as they can easily cause a wipe.
Ending 20%
After the 20% invulnerability he doesn’t teleport away and you can nuke him. After defeating The Voice the fractal is finished.
Use